
Reader Disclosure: We independently review and recommend rental-friendly home products. When you purchase through our links, we may earn an affiliate commission at no extra cost to you.
Quick Answer: Can you install peel-and-stick wall moulding in an apartment without peeling drywall paint or losing your deposit? Yes. Lightweight flexible PVC or high-density polystyrene (HDPS) mouldings measure 0.8 to 1.5 inches wide, 0.2 to 0.4 inches thick, and weigh under 4 ounces per linear foot. Instead of adhering factory foam tape directly to flat rental paint, apply a sacrificial base buffer of clean-release blue painter’s tape along your pencil layout lines first. Classic picture frame wainscoting follows a balanced 3 to 4-inch perimeter spacing rule, maintaining 3 to 4 inches of open wall clearance between adjacent frames and 3 to 4 inches above baseboards, with typical chair rails set 32 to 36 inches from the floor. At move-out, warm trim strips with a standard hairdryer on medium heat held 4 to 6 inches away for 30 to 45 seconds, then pull the painter’s tape buffer slowly backward at a 180-degree angle flat along the wall without tearing paint.
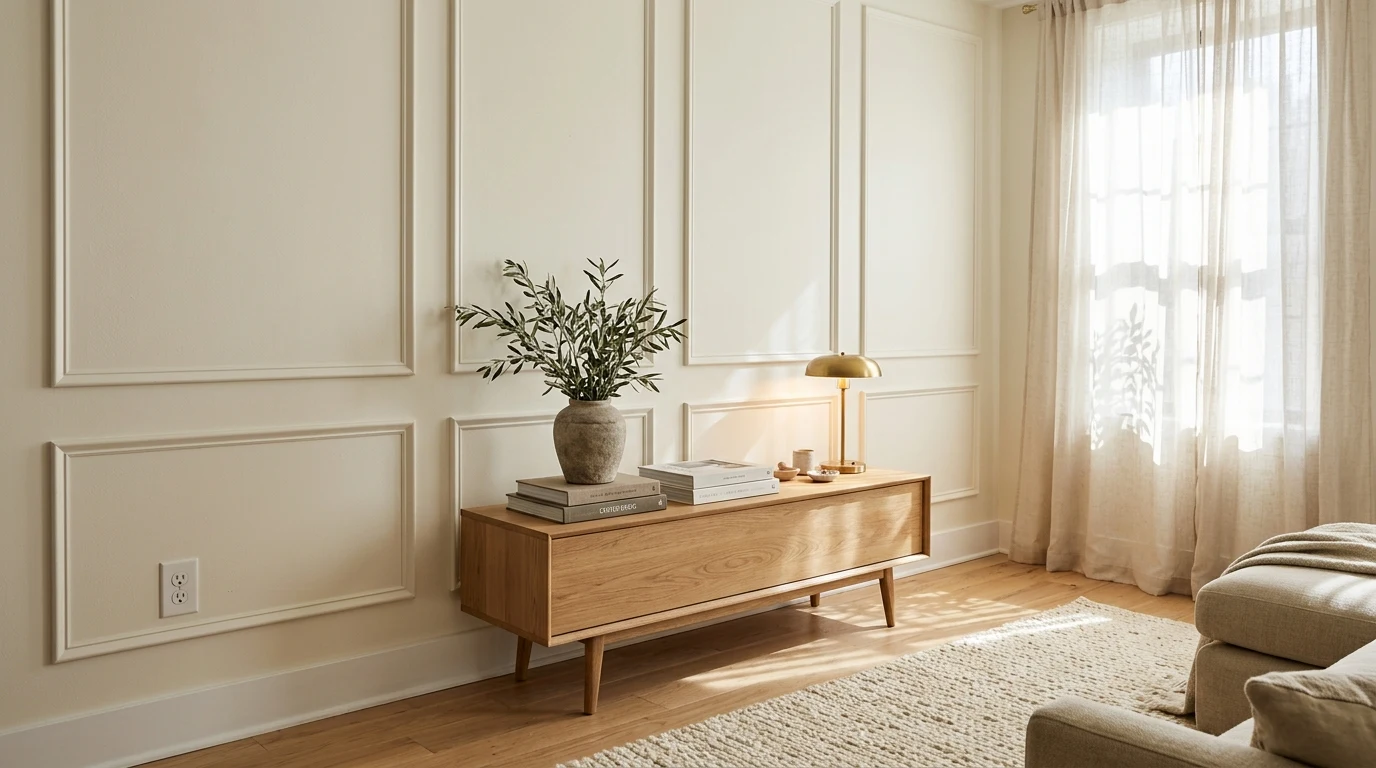
Table of Contents
Why Traditional Wall Moulding Risks Your Rental Deposit
Architectural wall trim transforms plain, sterile rental spaces into warm, character-filled rooms. However, traditional picture frame wainscoting requires pneumatic nail guns, heavy wood millwork, and liquid construction adhesive. When moving out, pulling nailed or glued trim off drywall causes structural surface gouges, rips drywall facing paper, and often triggers substantial deposit deductions from property managers.
Many peel-and-stick trim kits promise easy DIY upgrades, but factory foam adhesives can be surprisingly aggressive. When stuck straight onto flat builder-grade latex paint, the bond strength often exceeds the paint’s adhesion to the drywall substrate. Pulling the strip away at lease end can tear drywall paper down to the gypsum core.
The solution is not avoiding wall moulding altogether—it is executing the installation with an adhesive buffer system that helps ensure the wall surface remains undisturbed when it is time to pack up. If you are pairing wall panelling with accent patterns, check our guide on renter-safe removable wallpaper for complementary styling options.
The Painter’s Tape Buffer Method (The Protective Buffer Secret)
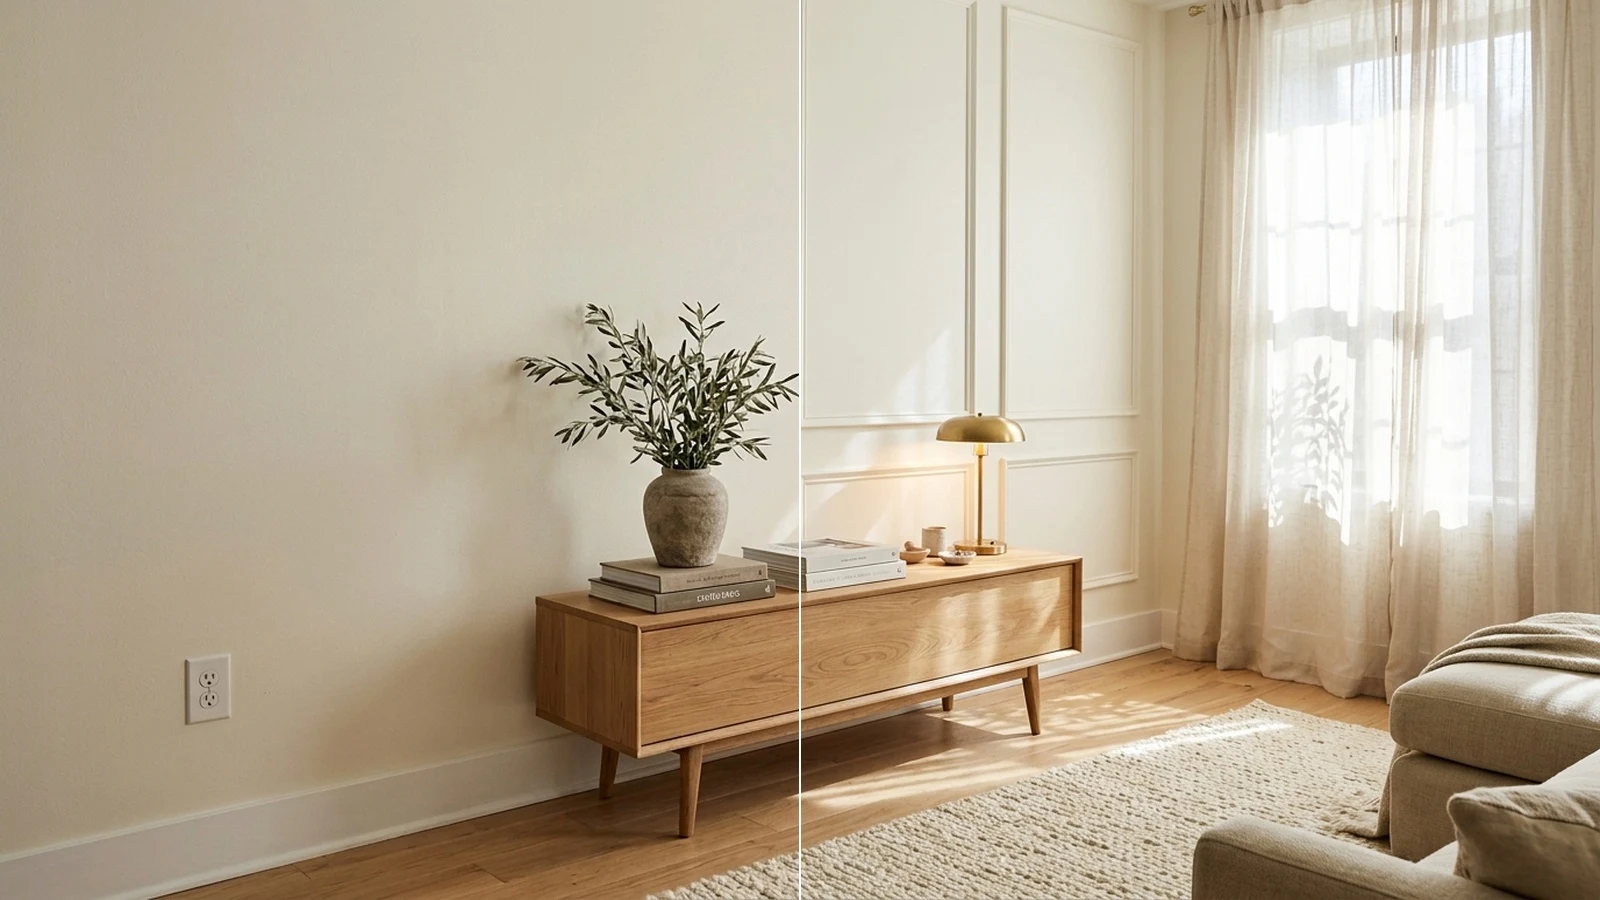
Applying multi-surface painter’s tape rated for clean removal along layout pencil lines creates a sacrificial protective barrier between rental drywall and aggressive factory foam adhesives, preventing drywall paper tears during lease-end removal.
Instead of sticking the trim directly to the wall, you place high-quality blue painter’s tape (rated for clean removal) along your chalk or pencil layout lines. The factory adhesive on the back of the trim bonds securely to the durable top backing of the tape, while the low-tack adhesive on the underside of the painter’s tape grips the drywall without peeling the paint layer.
| Method | Wall Attachment | Deposit Risk | Removal Time | Best For |
|---|---|---|---|---|
| Direct Factory Peel & Stick | Pre-applied heavy foam tape directly on paint | Moderate to High (paint tearing risk) | Slow removal plus wall patching | Homeowners or permanent walls only |
| Painter’s Tape Buffer (Recommended) | Tape buffer applied to wall; trim adhered to tape | Very Low (clean release) | A few minutes with hairdryer | All rental drywall and standard painted apartments |
| Command Picture Hanging Strips | Interlocking adhesive strips at corners and midpoints | Very Low (stretch-release tab) | Quick tab release | Ultra-lightweight hollow foam pre-made frames |
Moulding Materials: PVC vs. Polystyrene Trims
Lightweight self-adhesive wall moulding strips are manufactured from flexible PVC or high-density polystyrene (HDPS) with strip widths typically ranging from 0.8 inches to 1.5 inches (or 2 to 4 centimeters) and profile thicknesses of 0.2 to 0.4 inches (or 5 to 10 millimeters), weighing under 4 ounces per linear foot.
Understanding which material fits your room makes installation faster and ensures clean lines:
- Flexible PVC Trim Strips: Shipped in compact flexible rolls. They flex slightly over minor wall dips, are moisture-resistant, and can be cut effortlessly with handheld multi-angle shears. Their flexibility is ideal for slightly uneven rental walls.
- High-Density Polystyrene (HDPS) / Polyurethane Rigid Mouldings: Sold as pre-cut sticks or pre-assembled picture frame boxes. They offer sharp architectural profiles that closely mimic traditional primed wood millwork. Because they are rigid, they require a flat wall plane to seat flush without gaps.
Mandatory Surface and Safety Pre-Checks
Before unrolling trim or drawing pencil lines on your rental walls, confirm your wall conditions meet these essential requirements:
- Fresh Paint Curing Window: Walls must be wiped down with a 50/50 mix of 70% isopropyl alcohol and water and allowed 30 to 60 minutes of drying time before installation, while freshly painted rental drywall requires a full 14 to 30-day curing period to prevent premature adhesive bond failure or paint peeling. Avoid applying adhesive to paint that smells fresh or was painted less than two weeks prior.
- Drywall Texture Assessment: Smooth drywall or faint orange peel finishes provide full surface contact. If your rental features heavy knockdown, Spanish lace, or rough troweled plaster, peel-and-stick trim will leave visible gap lines behind the profile and may loosen over time.
- Moisture & Heat Limits: Do not install peel-and-stick wall moulding directly above baseboard heaters, near open kitchen heat sources, or inside unventilated shower zones where steam humidity degrades adhesive tack.
- Overhead Fixtures: If mounting mouldings above beds or headboards, stick strictly to lightweight foam or PVC profiles weighing under 4 ounces per linear foot to eliminate any heavy falling hazard.
How to Calculate Picture Frame Spacing and Layout
Classic picture frame wainscoting follows a balanced 3 to 4-inch perimeter spacing rule, maintaining 3 to 4 inches of open wall clearance between adjacent frames and 3 to 4 inches above baseboards and below chair rails, with typical chair rails set 32 to 36 inches from the floor.
To plan your wall without guesswork, follow this 4-step layout formula:
- Measure Wall Width: Note the total length of your accent wall.
- Determine Box Count: Choose a symmetrical layout of three or four boxes to create visually harmonious proportions across the accent wall.
- Subtract Perimeter Spacing: Multiply your chosen spacing distance (maintaining 3 to 4 inches between boxes and borders) by the total number of wall gaps.
- Divide Remaining Width: Divide the remaining wall width equally by your box count to calculate each frame’s exact width.
Step-by-Step Installation: Step 1 Through Step 4
Step 1: Clean Surface and Map the Grid
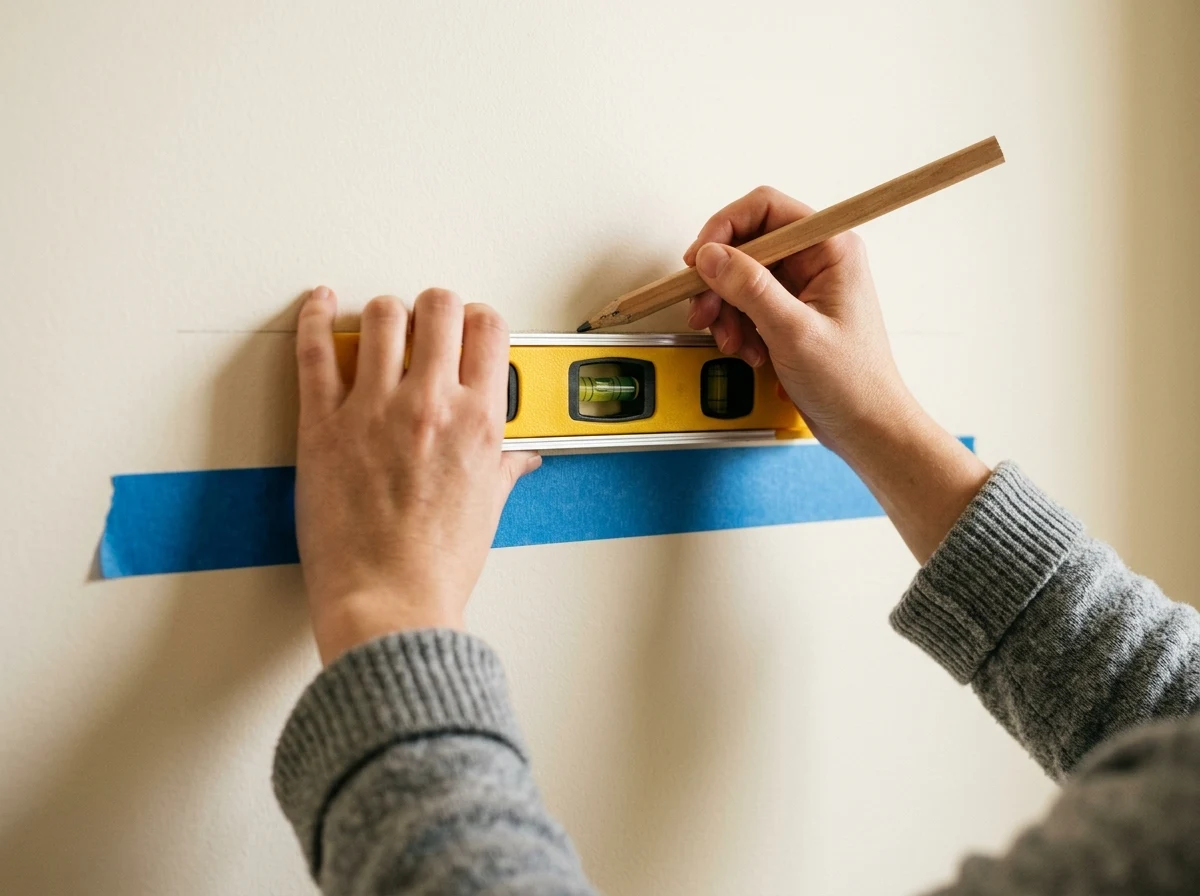
Wipe the installation zone with a microfiber cloth dampened with equal parts 70% isopropyl alcohol and water to remove airborne cooking grease and tenant dust. Let the wall air dry for 30 to 60 minutes. Use a tape measure, torpedo level, and light pencil marks to sketch your boxes on the wall. For renters who prefer zero pencil marks, use low-tack delicate painter’s tape directly as your visual alignment guide.
Step 2: Apply the Painter’s Tape Protective Buffer
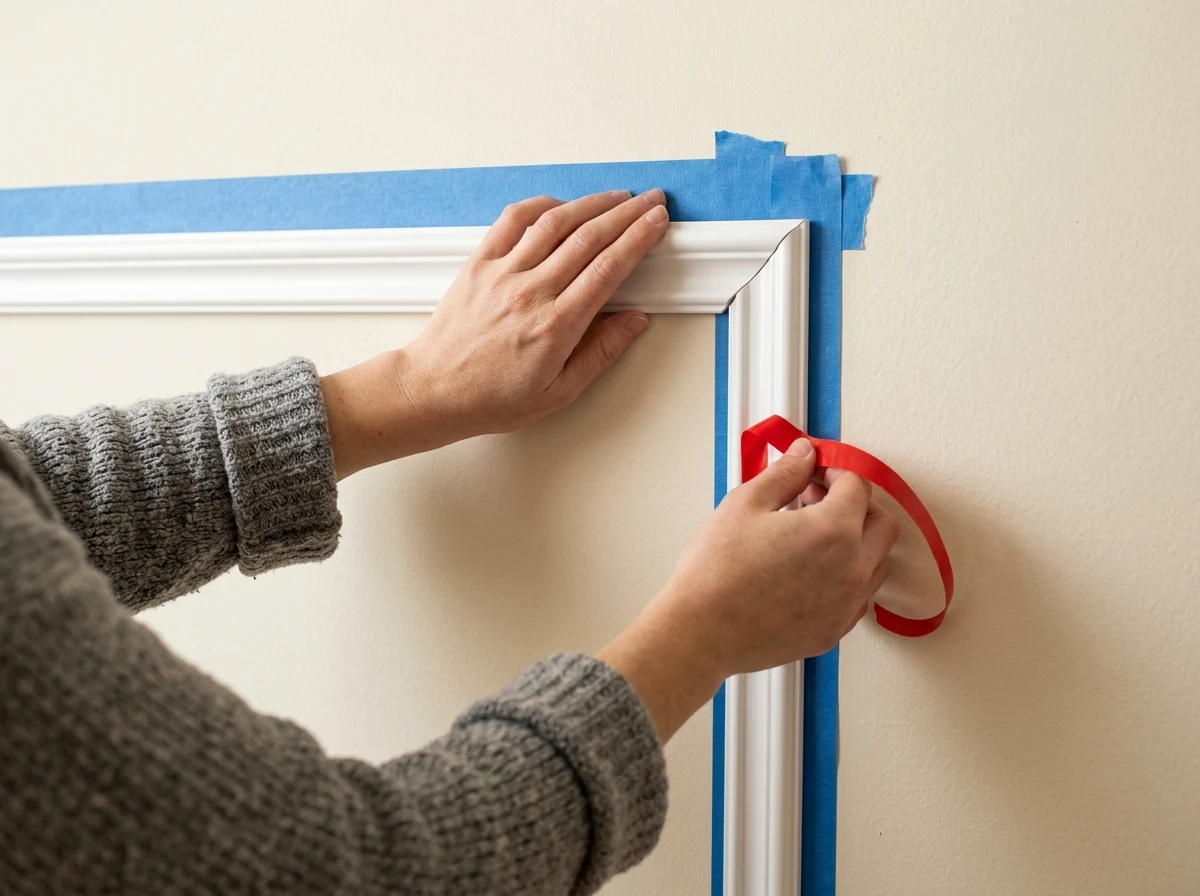
Lay strips of clean-release blue painter’s tape along your pencil layout lines, centering the tape directly where each moulding strip will sit. Press the tape firmly against the wall with a putty knife or plastic squeegee to burnish the edges and prevent air pockets. Trim the tape ends so the tape does not extend beyond the outer perimeter of your intended moulding width.
Step 3: Cut 45-Degree Miter Angles
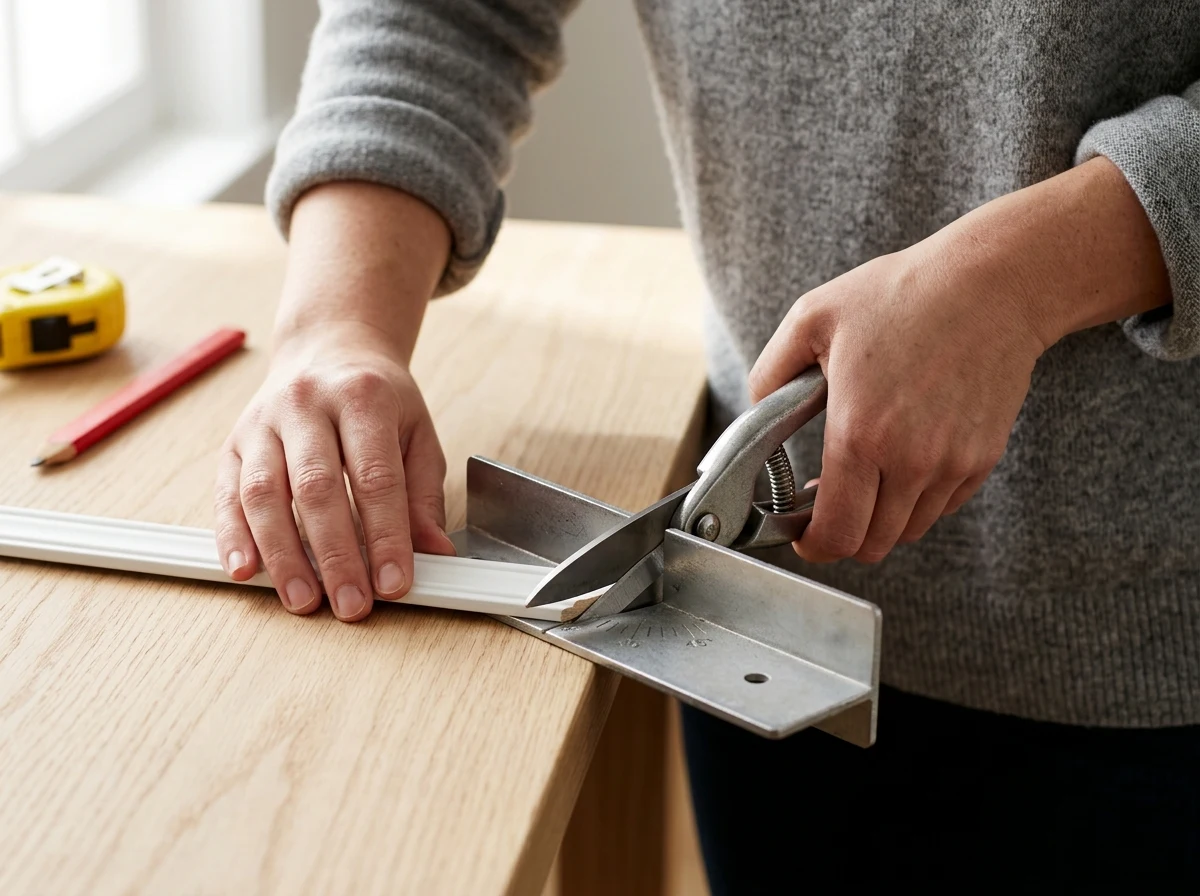
Creating seamless box corners requires cutting 45-degree miter joints with handheld multi-angle craft shears or a compact miter box, producing crisp 90-degree corner joints without requiring electric power saws. Measure twice and cut once: each rectangular box requires two equal-length vertical strips and two equal-length horizontal strips, each cut with opposing 45-degree miters.
Step 4: Mount Moulding and Join Corners
Peel back a short section of the protective backing paper from your first moulding piece. Align the starting 45-degree miter with your top corner guideline on the painter’s tape. Press down firmly as you gradually peel away the backing paper along the length of the strip. Join the matching mitered corner tightly, applying continuous hand pressure along the entire strip for several seconds. If you plan to hang art prints inside your newly framed boxes, see our step-by-step tutorial on how to hang a gallery wall without drilling for damage-free hanging methods.
Move-Out Removal Protocol: Deposit Protection Best Practices
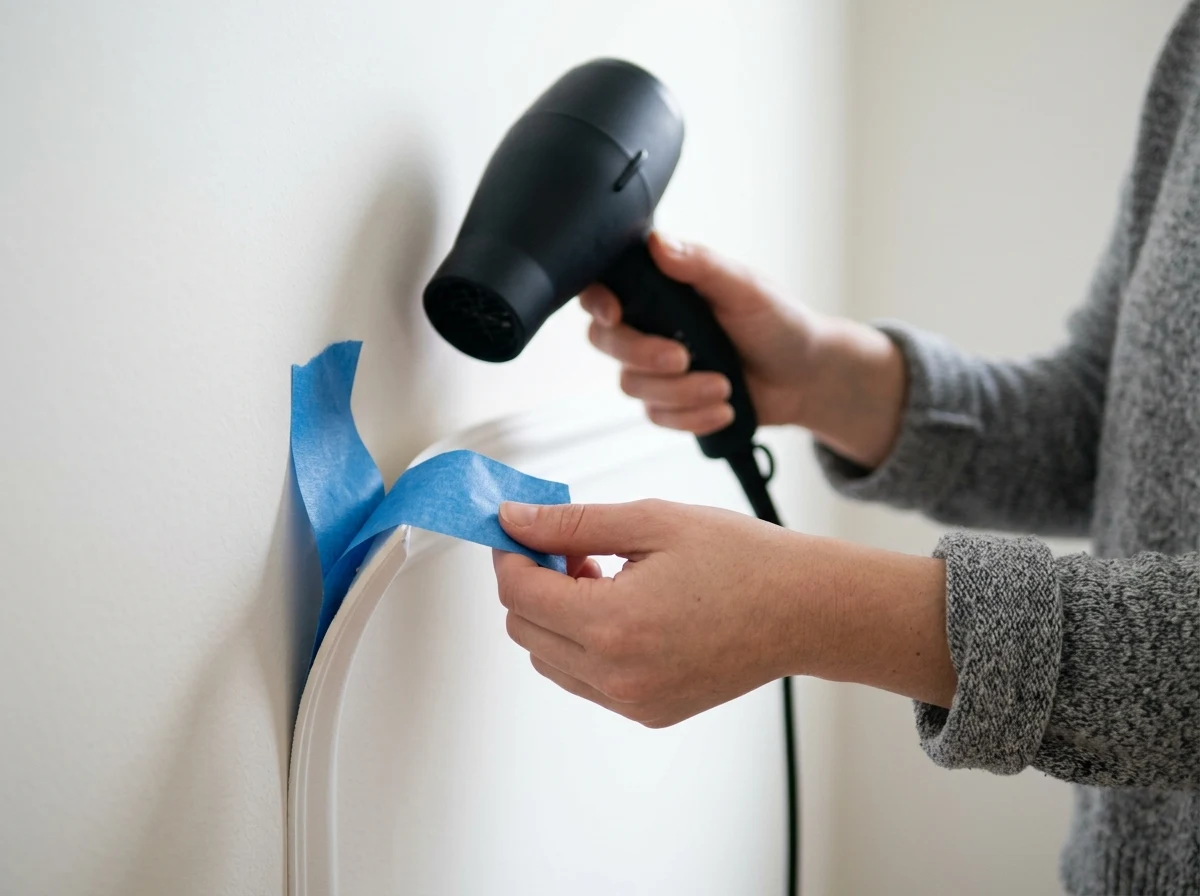
Safe move-out removal involves warming the trim strips with a standard hairdryer on medium heat held 4 to 6 inches away for 30 to 45 seconds to soften adhesive tack, pulling the painter’s tape buffer slowly backward at a 180-degree angle flat along the wall, and cleaning any residual adhesive with 70% isopropyl alcohol.
Follow these essential rules to ensure a smooth inspection:
- Avoid Pulling Outward at 90 Degrees: Pulling directly away from the wall exerts perpendicular tension on the drywall paper. Fold the tape back against itself at a 180-degree flat angle and pull parallel to the wall surface.
- Work in Slow Increments: Heat one short section at a time. If you feel resistance, apply heat for a few more seconds rather than pulling harder.
- Handle Any Sticky Residue: If any minor adhesive residue remains along the tape border, lightly mist a microfiber cloth with 70% isopropyl alcohol and wipe gently in circular motions. The surface will be left clean and ready for your final landlord walkthrough. If you are also refreshing other adhesive upgrades, browse our tested techniques for peel and stick kitchen backsplash makeovers.
Frequently Asked Questions
Can I paint peel-and-stick wall moulding to match my rental walls?
Yes. Both flexible PVC and HDPS mouldings accept water-based acrylic interior latex paint. Clean the trim surface with a damp microfiber cloth to remove dust, apply a light coat of paintable water-based bonding primer if the trim has a high-gloss sheen, and coat with matching wall paint. When it is time to move out, remove the trim strips entirely as described in our removal protocol.
Will painter’s tape hold heavy wooden moulding?
No. The painter’s tape buffer technique is engineered specifically for lightweight trim materials weighing under 4 ounces per linear foot, such as flexible PVC, extruded polystyrene, or lightweight polyurethane. It should never be used to support solid pine, oak, MDF, or load-bearing shelving.
How do I handle wall electrical outlets that interrupt my frame boxes?
When an electrical outlet or light switch falls in the path of your intended wainscoting layout, adjust your box spacing to frame cleanly around the outlet plate with comfortable clearance around the cover plate. Alternatively, shift box widths slightly so the outlet sits centered in the open field between two picture frame boxes. Avoid cutting trim to abut tightly against an electrical cover plate, as this can impede access to the outlet.
What if my rental apartment has high humidity?
In humid climates or bathrooms without exhaust fans, moisture can weaken painter’s tape adhesive over several months. For spaces with elevated humidity, ensure adequate daily room ventilation, clean walls thoroughly with isopropyl alcohol before starting, and press each strip firmly during initial placement.
