
Reader Disclosure: We independently review and recommend rental-friendly home products. When you purchase through our links, we may earn an affiliate commission at no extra cost to you.
Quick Answer: Will peel-and-stick backsplash tiles damage rental drywall at move-out?
A peel-and-stick backsplash rental upgrade lets renters modernize kitchen walls without mortar or grout. Clean removal depends on wall preparation, paint soundness, and warming the adhesive with heat before peeling. Lightweight polyurethane gel-resin tiles are engineered to withstand ambient wall temperatures up to 120°F (49°C) and can be removed by warming each sheet with a hair dryer before peeling gently from a corner. However, on older or unprimed rental drywall, paint lifting can occasionally occur, which may require minor spackling and paint touch-up. Heavy metal tiles with aggressive industrial adhesives should be avoided in rentals because they risk tearing drywall paper upon removal.
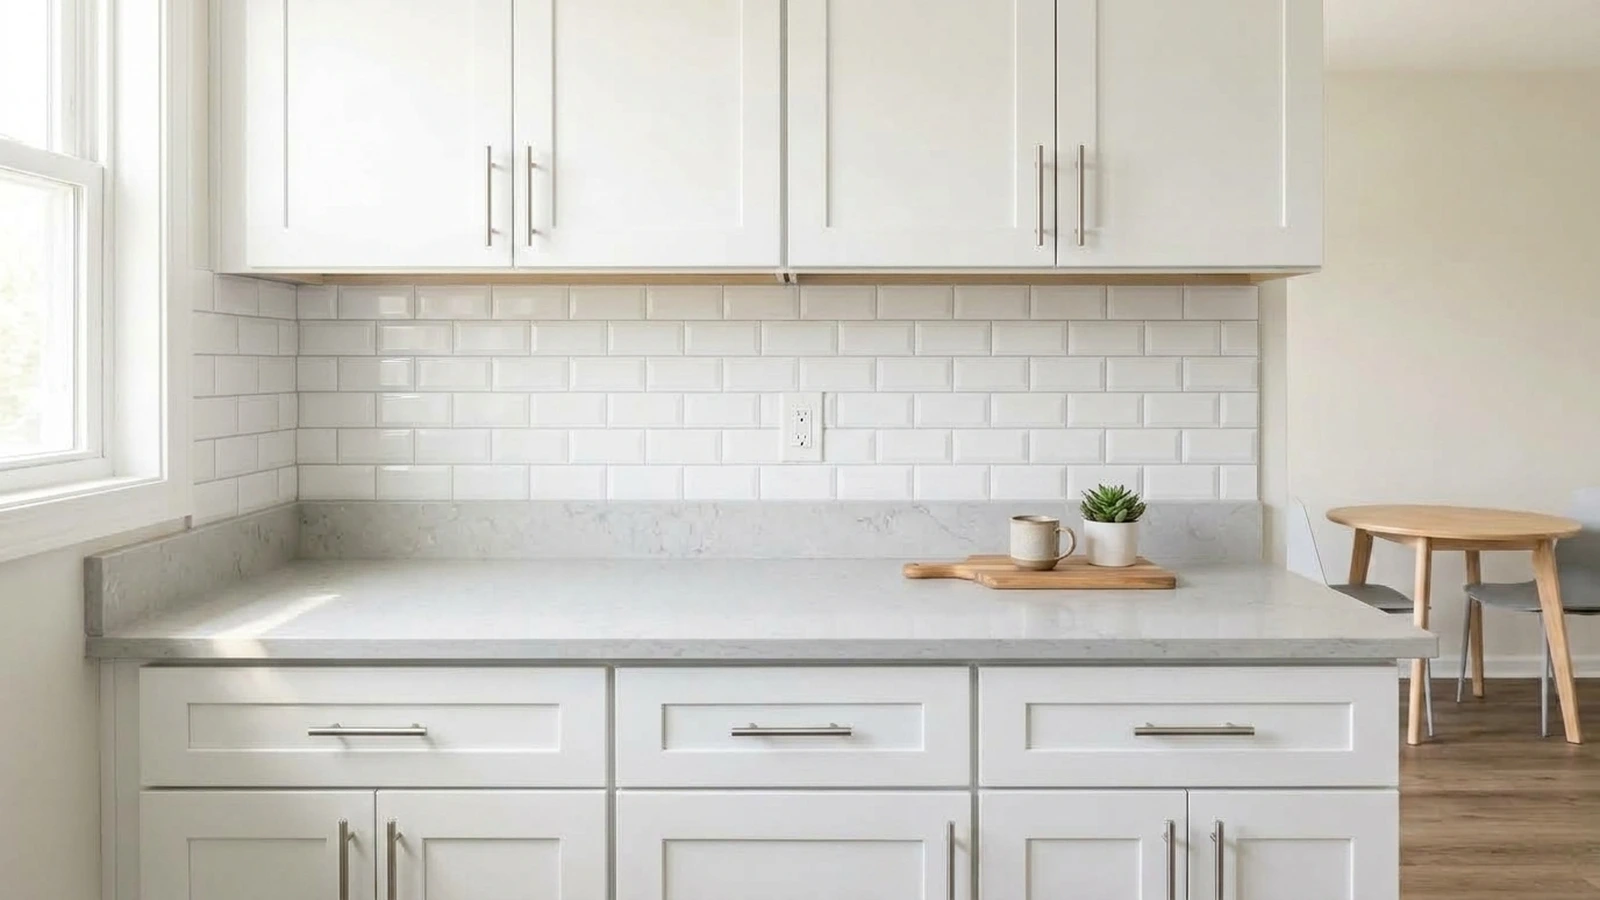
Table of Contents
Why a Peel-and-Stick Backsplash Rental Upgrade Works
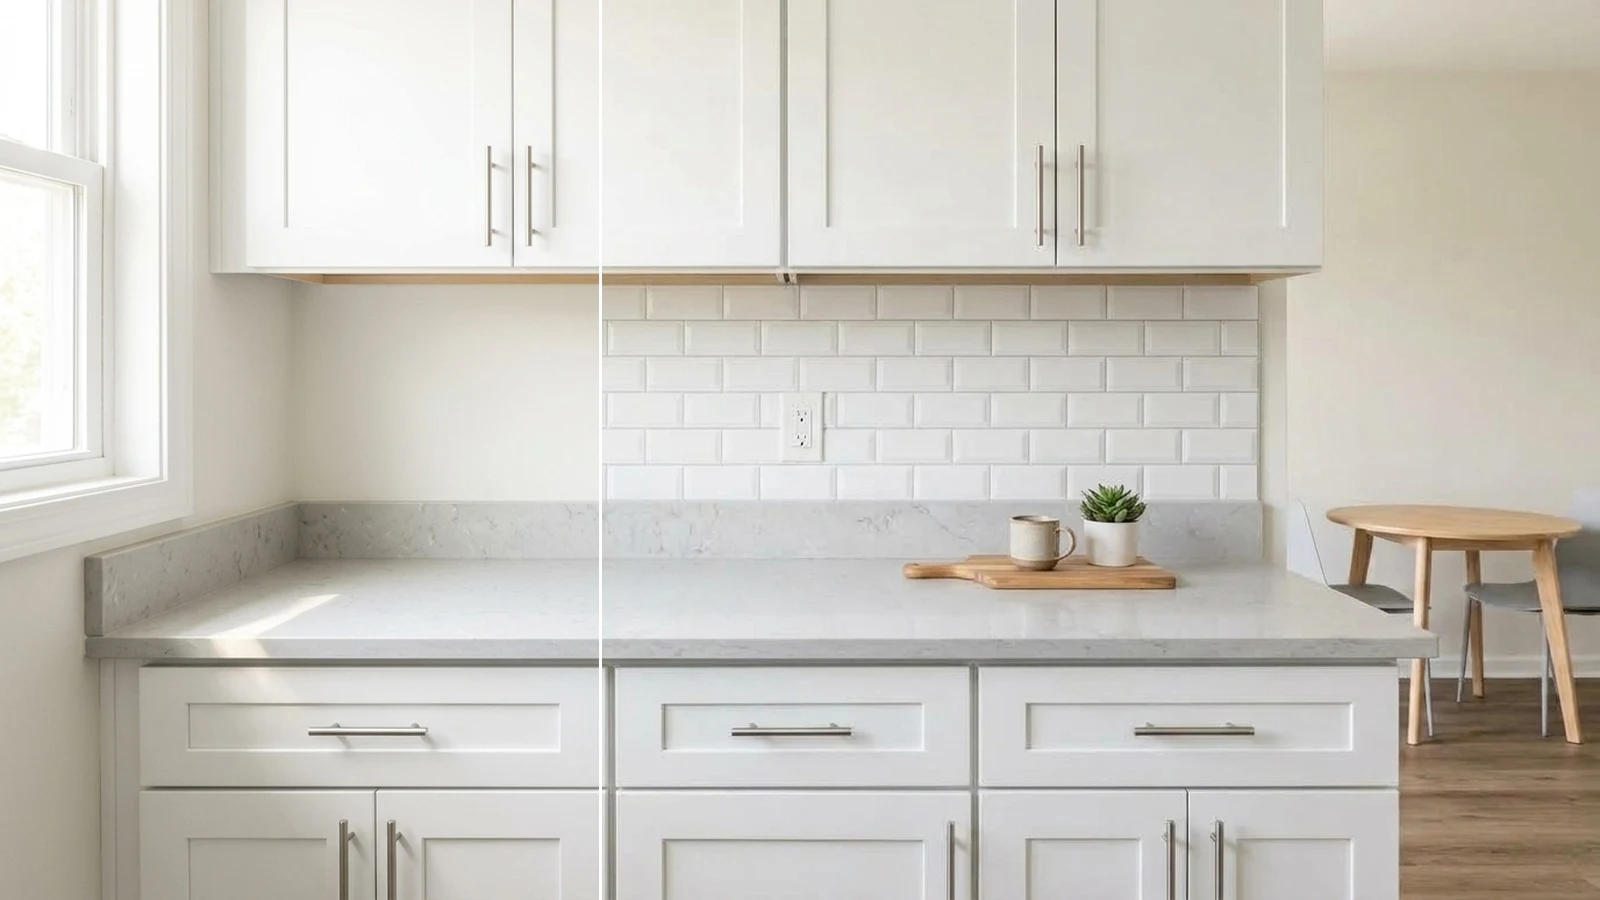
Rental kitchens often come with stained walls, builder-grade paint, or dated laminate backsplashes that landlords rarely upgrade. Traditional ceramic tile installation requires thin-set mortar, tile spacers, and grout—modifications that can risk your security deposit and violate typical lease agreements.
Self-adhesive gel-resin backsplash sheets offer a practical cosmetic solution. Modern sheets feature flexible three-dimensional polyurethane surfaces that mimic glazed ceramic subway tile and real grout lines. They mount directly over clean painted drywall, resist cooking splashes, and can be removed at move-out when heated properly. Pairing this upgrade with rental countertop contact paper and under-cabinet wireless LED lighting completely refreshes a standard rental kitchen without structural wall alterations.
Mandatory Surface & Safety Checks Before You Buy
Before ordering peel-and-stick tiles, check your rental kitchen walls and cooking setup against these critical safety and adhesion criteria.
1. Heat and Open Flame Clearance
Safety is the primary consideration behind any cooking surface. Smart Tiles gel-resin tiles are engineered to withstand ambient wall temperatures up to 120°F (49°C). While this handles normal steam and cooking warmth, open gas flames require strict clearance.
If your stove lacks a rear control panel or protective metal plate, Smart Tiles instructions require leaving a safety zone of at least 8 inches (20 cm) without adhesive tiles behind the burners to avoid contact with open flame. Direct contact with a gas flame or exhaust heat will scorch or melt synthetic tile backing. If your stove sits flush against the wall without a rear panel, install a non-combustible stainless steel splash guard directly behind the cooktop and run your peel-and-stick tiles alongside it.
Similarly, maintain a clearance of at least 2 inches (6 cm) between your adhesive tiles and heat-emitting countertop appliances like toaster ovens or electric kettles to prevent localized heat buildup.
2. Fresh Paint Curing Requirements
If your rental kitchen was freshly repainted before you moved in, wait at least 21 days for the paint to cure before applying peel-and-stick tiles. While latex paint feels dry to the touch quickly, it requires time to cure completely. Applying adhesive sheets over uncured paint can cause tiles to slip or pull paint off the wall when removed. This curing guideline matches standard recommendations for removable peel-and-stick wallpaper.
3. Wall Texture and Cleanliness
Self-adhesive tiles require flat, continuous contact to maintain their grip. They bond reliably to smooth painted drywall, satin or semi-gloss finishes, and existing flat ceramic tile. They are not recommended for heavily textured orange peel or knockdown drywall, unpainted gypsum, porous raw wood, or brick surfaces. Gaps beneath textured ridges allow grease and moisture to penetrate behind the sheets, causing edges to lift.
Tools Needed for a Peel-and-Stick Backsplash Rental Project
- Gel-Resin Subway Tile Sheets: Measure your wall height and width, calculate total square footage, and add extra material for corner cuts and pattern matching.
- Trisodium Phosphate (TSP) or Heavy-Duty Degreaser: Essential for stripping cooking oils.
- Rubbing Alcohol & Microfiber Cloths: For final residue-free surface wiping.
- Retractable Utility Knife with Fresh Blades: Dull blades snag vinyl tile edges.
- Metal Straightedge Ruler: Guides clean cuts along faux grout joints.
- Torpedo Level & Pencil: Ensures every row stays straight.
- Cutting Mat or Scrap Cardboard: Protects your rental countertops during trimming.
Step-by-Step Peel-and-Stick Backsplash Rental Installation
Step 1: Degrease the Wall Surface
Kitchen backsplashes accumulate invisible airborne cooking grease that prevents pressure-sensitive adhesive from bonding. Clean kitchen grease from the wall using a dedicated degreaser like TSP. Do not use dish soap, which leaves a thin surfactant residue that weakens adhesive stick.
After wiping with degreaser, rinse the wall with a damp cloth, then perform a final wipe-down with rubbing alcohol. Allow the drywall to dry thoroughly before proceeding.
Step 2: Establish a Horizontal Reference Line
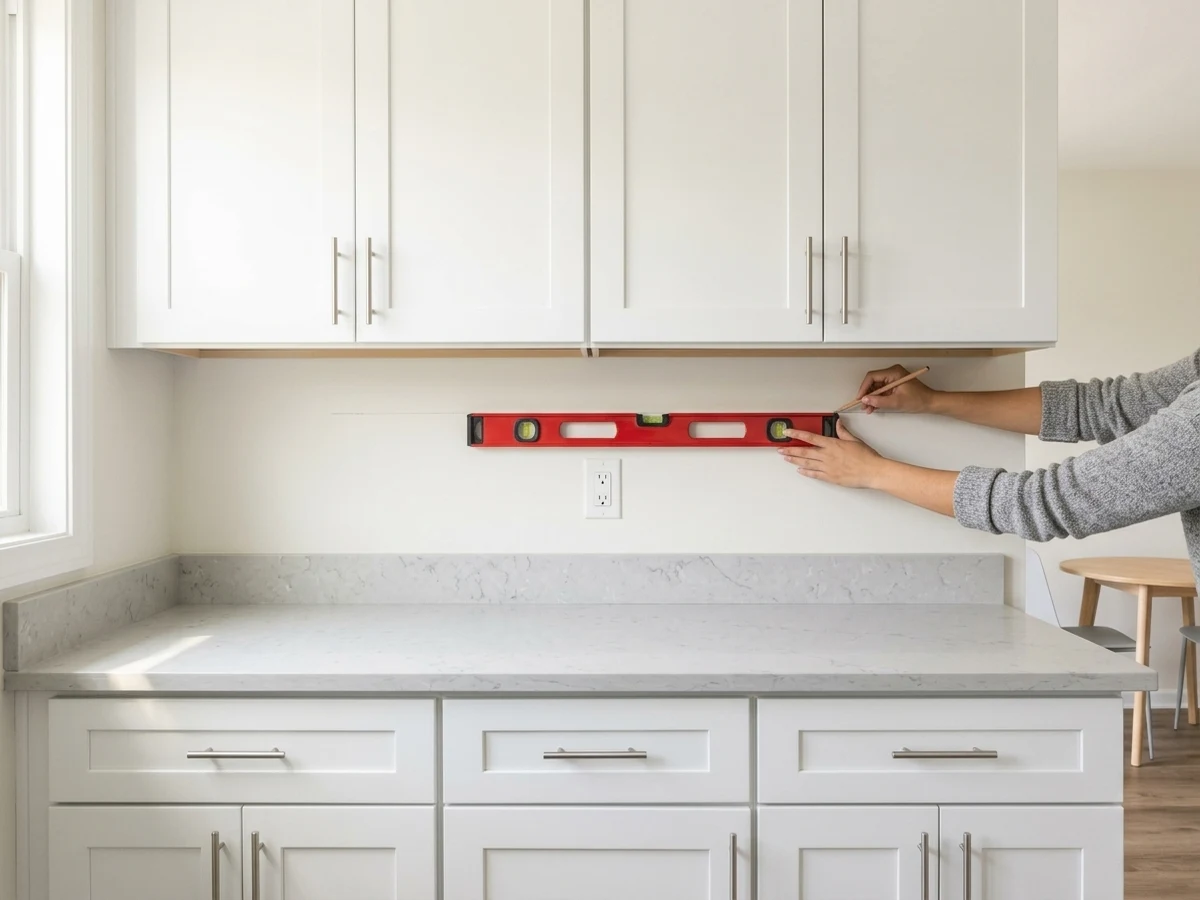
Rental countertops are rarely level. If you align your first row of tiles flush against a sagging countertop, the error magnifies with every row, resulting in tilted subway patterns. Use a torpedo level and pencil to draw a crisp horizontal reference line across your backsplash wall, starting at the lowest point of your counter. Align the tops of your first tile row along this level line.
Step 3: Trim the Starting Edge
Subway tile sheets feature interlocking tabs on both sides so adjacent sheets nest together seamlessly. For your very first tile sheet in the corner, use your utility knife and straightedge to trim off the protruding tabs. This creates a straight, flush vertical edge that seats squarely into the wall corner.
Peel back a third of the protective backing paper, align the sheet along your level guideline, and press gently from the center outward to avoid trapping air bubbles. The adhesive backing allows slight repositioning when first placed, but sets firmly within 48 hours of installation. Smooth down the entire sheet firmly once positioned.
Step 4: Cutting Around Outlets and Switches
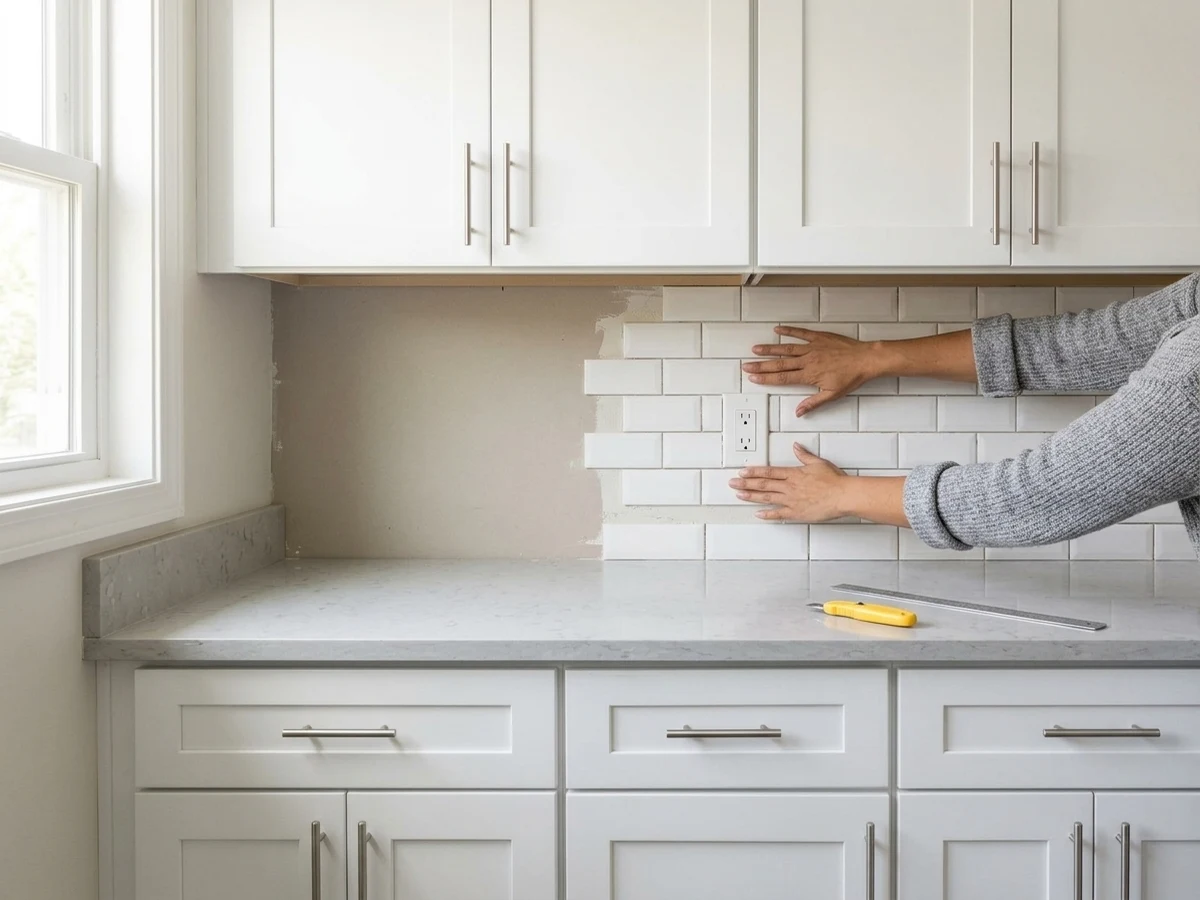
Be sure to switch off power at the circuit breaker before removing outlet cover plates. Trace the electrical box opening onto the tile sheet and cut with a utility knife so the replaced faceplate neatly covers your cut edges. Test fit the sheet dry over the outlet box before peeling the adhesive backing. Once fitted, reattach the cover plate over the tile surface for a built-in look.
Step 5: Interlocking Successive Sheets
Work systematically from left to right. Lay each subsequent sheet so its tabs overlap the preceding tile’s grout indentations. Press firmly along the interlocking seams to eliminate visible joints. If you need to floor upgrades as well, explore our guide to peel-and-stick floor tiles over rental linoleum.
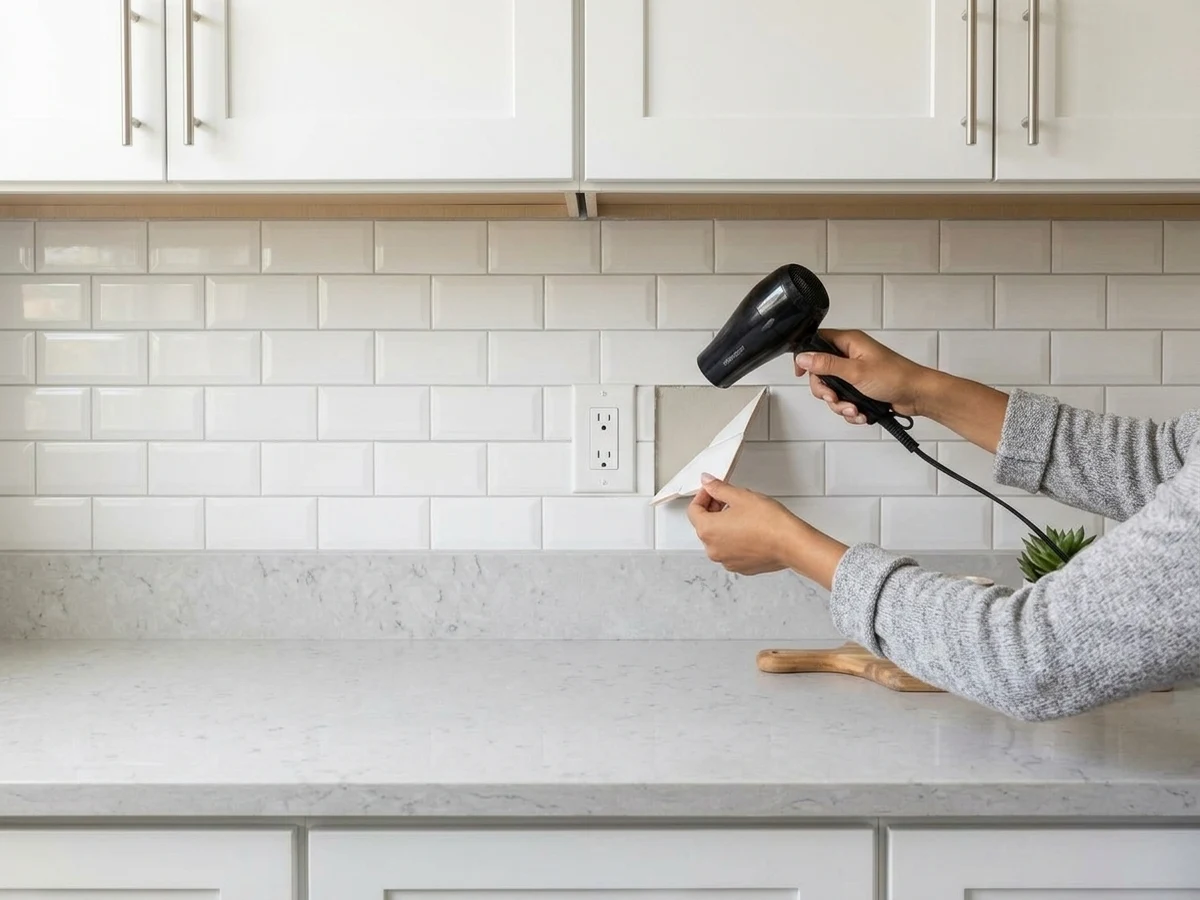
Peel-and-Stick Backsplash Rental Move-Out Removal
Rushing tile removal by pulling cold sheets off the wall will tear drywall paper. Follow this careful heating method to protect your rental walls.
1. Soften the Adhesive with Heat
When moving out, warm each tile with a hair dryer to soften the adhesive backing, then peel slowly from a corner at a downward angle. Direct warm air onto the tile surface for several seconds until the vinyl feels pliable. Heat softens the pressure-sensitive adhesive, allowing it to release cleanly from the paint film.
2. Peel Slowly at an Angle
Grip the loosened corner and peel downward at a shallow 45-degree angle, pulling parallel to the wall rather than outward into the room. Continue directing heat ahead of the peel line as you work your way across the sheet.
3. Clean Residual Tackiness
Wipe away any residual adhesive residue using mineral oil or a mild adhesive remover formulated for painted walls, then wipe clean with a damp cloth. Avoid harsh cleaners or acetone, which can dissolve latex wall paint.
4. Touch Up Minor Flaws
On older or unprimed rental drywall, paint lifting can occasionally occur upon removal, which may require minor spackling and paint touch-up. Keep a small tub of spackle and a sample pot of matching wall paint on hand to patch any small blemishes before your landlord’s final move-out walkthrough.
Frequently Asked Questions
Can you install peel-and-stick backsplash over existing rental tile?
Yes, self-adhesive tiles bond well to smooth, existing ceramic tile. The surface must be thoroughly cleaned with a degreaser to remove airborne grease, followed by a rubbing alcohol wipe. If existing grout lines are deep or wide, choose thicker rigid tiles to prevent grout impressions from telegraphing through the sheet.
Can you use peel-and-stick backsplash behind a gas stove?
Only with proper heat clearance. While gel-resin tiles withstand ambient heat up to 120°F (49°C), Smart Tiles guidelines require leaving a safety zone of at least 8 inches (20 cm) without adhesive tiles behind open gas burners if your stove lacks a rear control panel or metal plate.
Will peel-and-stick tiles damage rental drywall at move-out?
When heated thoroughly with a hair dryer to soften the adhesive, lightweight gel-resin sheets peel off cleanly without tearing drywall paper. However, on older or poorly primed rental walls, minor paint lifting can occasionally occur, which can be patched with spackle and matching touch-up paint.
How do you clean cooking grease from peel-and-stick backsplash tiles?
Wipe sheets with a soft microfiber cloth, warm water, and mild dish soap. Avoid abrasive scouring pads, acetone, or harsh caustic oven cleaners, which can scratch the polyurethane gel surface and erode seam seals.
