
Quick Assessment: Wireless Under-Cabinet Kitchen Lighting
Can you install professional under-cabinet task lighting in a rental kitchen without hardwiring, drilling, or risking cabinet damage? Adding high-performance task lighting depends on fixture optics, battery architecture, and surface-safe mounting hardware. Following our under-cabinet wireless LED lighting methodology, edge-lit LED light bars deliver 120 lumens to 200 lumens of glare-free illumination with a warm 2700K to 3000K color temperature, a Color Rendering Index (CRI) of 90 or higher, and a milky acrylic diffuser. These fixtures snap magnetically onto mounting plates measuring 0.5 millimeters thick that adhere using 3M Command Medium Picture Hanging Strips rated for 3 pounds to 4 pounds of static load, supporting a 0.5-pound aluminum light bar with ample safety margin. Integrated 1500 mAh to 2500 mAh lithium-ion batteries provide 4 hours to 6 hours of continuous illumination, or 30 days to 60 days (4 weeks to 8 weeks) of motion-activated runtime based on 10 to 12 activations per day, requiring 2 hours to 3 hours to recharge via USB-C.
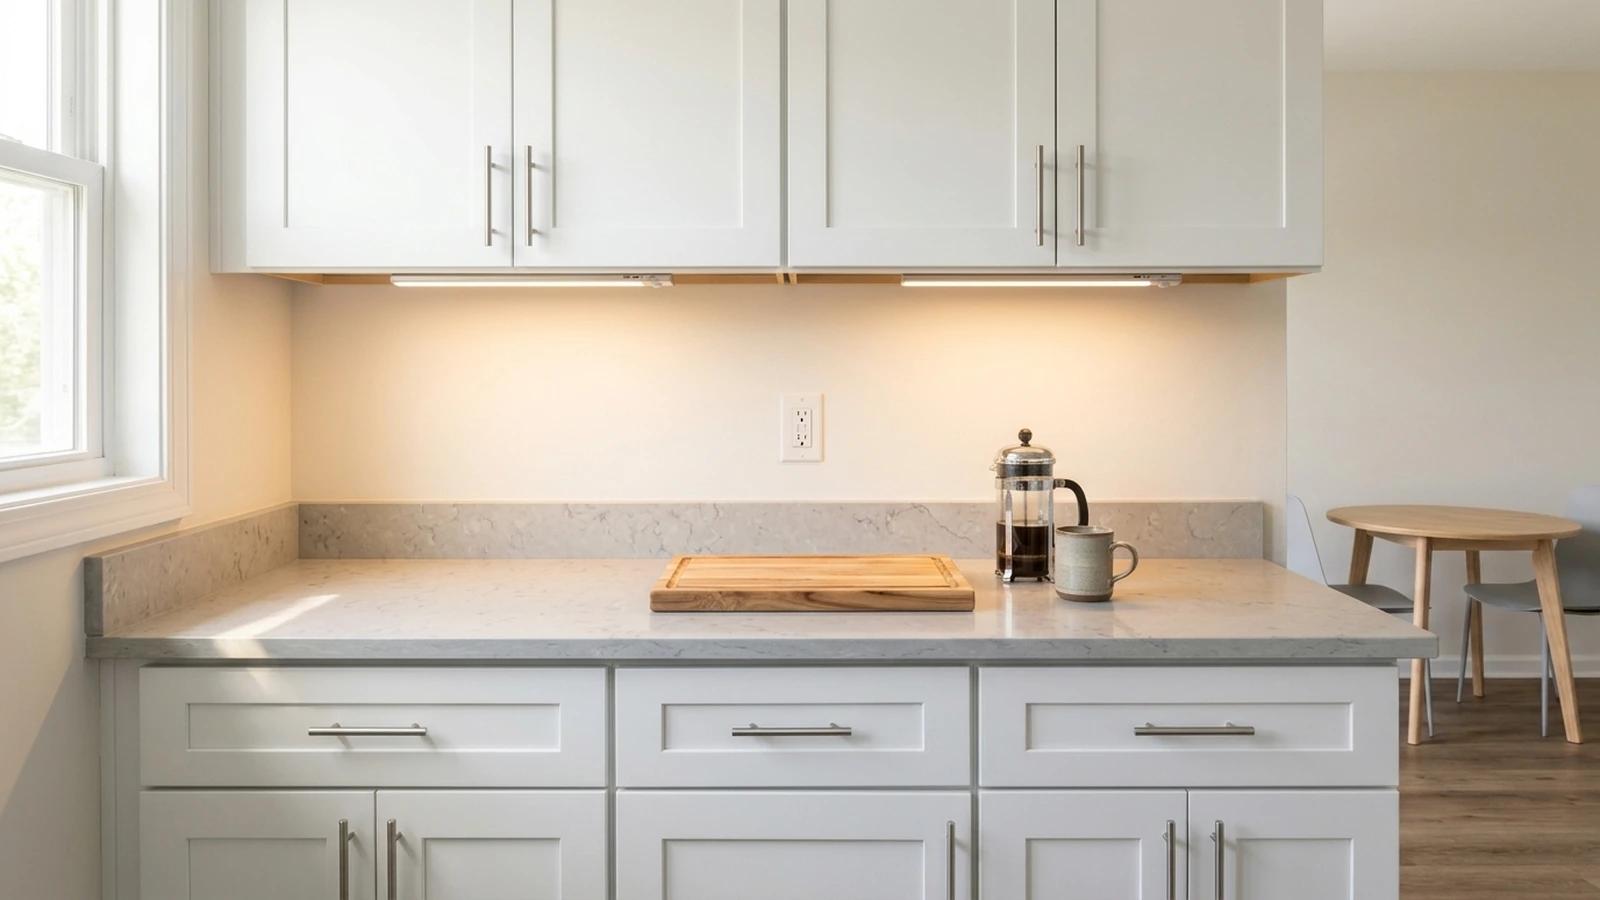
Most rental apartment kitchens suffer from an acute lighting deficit: a single, central ceiling dome light positioned directly behind the cook. As you stand at the counter preparing meals, slicing vegetables, or measuring ingredients, your body blocks the overhead illumination, casting dense shadows across cutting boards and prep surfaces. Dark food preparation areas not only cause eye strain during culinary tasks but also make small rental kitchens feel dim and uninviting.
Under-cabinet task lighting allows renters to eliminate countertop shadows without boring holes into landlord cabinetry or modifying electrical wiring. Clean removal and reliable adhesion depend on thorough surface preparation, cabinet finish condition, and proper removal technique. Standard residential leases strictly prohibit running Romex conduits through walls or drilling wire passages through permanent cabinetry to install hardwired transformers. Fortunately, modern edge-lit LED bars paired with removable elastomeric adhesives allow renters to add high-quality task lighting that takes down cleanly when lease turnover arrives.
Table of Contents
Cabinet Underside Feasibility: Clearances, Heat, and Substrates
Before buying or mounting light bars, evaluating the physical clearances, heat sources, and substrate materials under your rental cabinets prevents adhesive failure and protects electronic components:
- Face Frame Recess Depth: Standard framed upper cabinets feature a recessed underside cavity measuring 0.75 inches to 1.25 inches deep behind the bottom face rail, fully concealing light bars measuring 0.35 inches to 0.5 inches thick from seated sightlines. Measure your cabinet lower lip to confirm the fixture stays tucked out of view when sitting at a nearby dining table.
- Cooktop Thermal and Steam Buffers: Rechargeable light bars containing lithium-ion batteries must maintain a minimum buffer clearance of at least 24 inches to 30 inches horizontally and vertically from open gas flames, electric cooktops, and boiling kettle steam vents, keeping operating temperatures below 113°F (45°C). Excess thermal exposure degrades lithium battery cells and softens mounting adhesive.
- Front-Rail Placement Geometry: Locate light fixtures 1 inch to 2 inches behind the front decorative face rail to cast illumination downward across the entire 24-inch countertop depth while shielding occupants from direct line-of-sight glare. Placing fixtures against the back wall leaves the primary chopping zone in shadow and directs light into your eyes.
- Cabinet Substrate Material: Finished hardwood veneer and smooth melamine laminate provide reliable bonding surfaces for adhesive strips. Raw, unsealed particleboard underside surfaces require gentle, consistent pressure to avoid pulling loose fibers during removal.
- Cabinet Paint Curing Window: Freshly painted rental cabinets require a curing period of 7 days to 28 days before applying adhesive mounting hardware to prevent paint lift upon removal. Verify that your rental kitchen cabinetry paint has fully cured before installing adhesive plates.
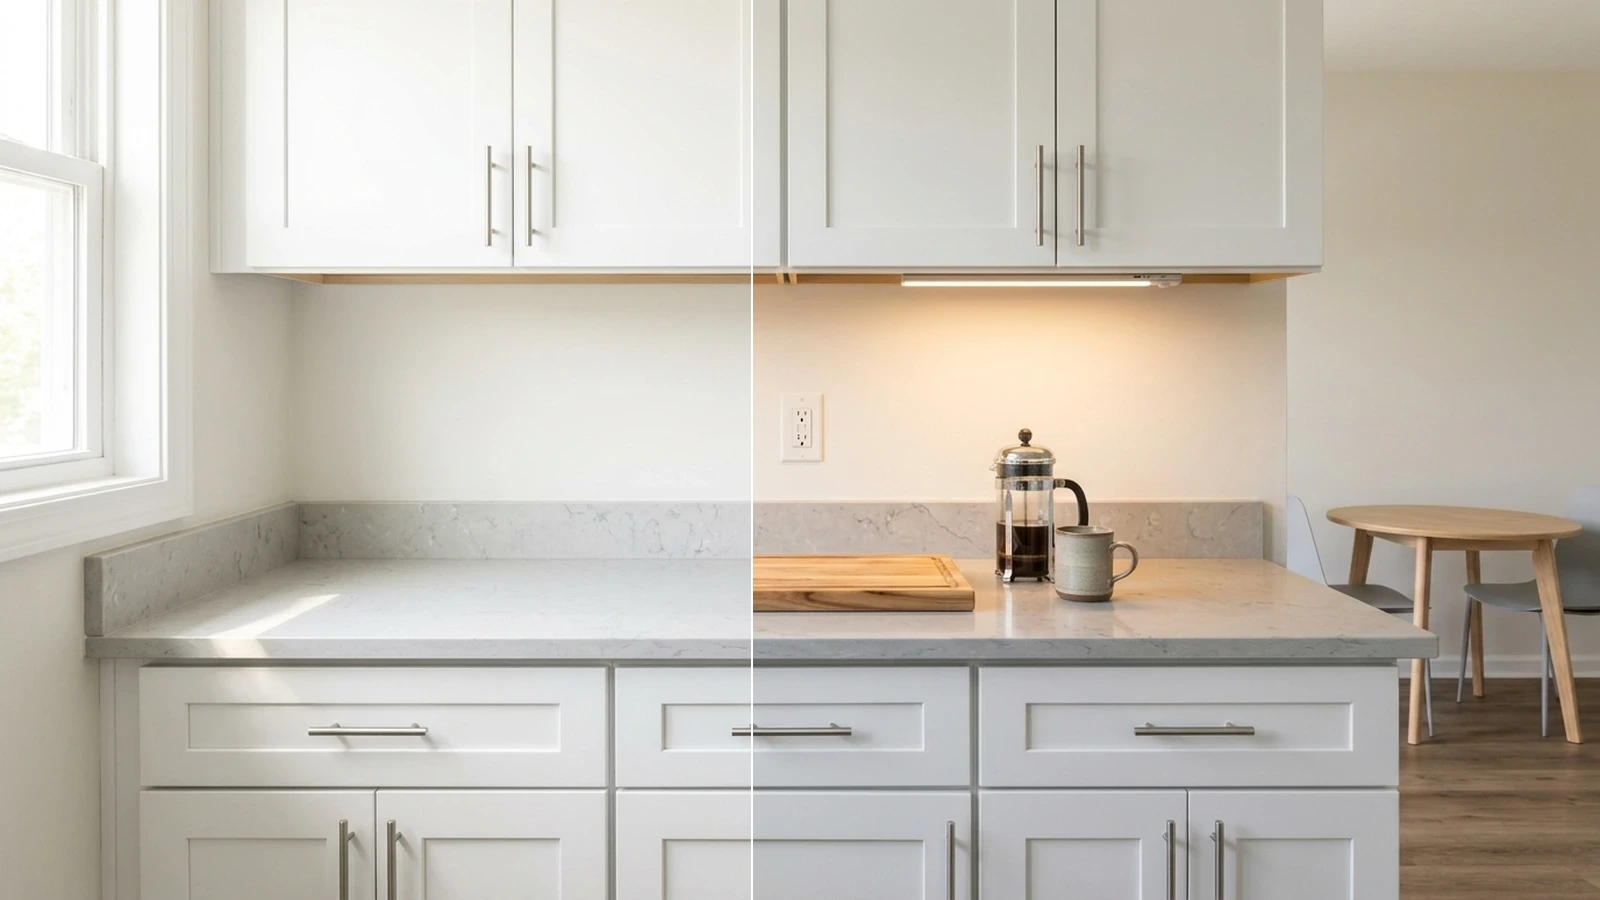
Under-Cabinet Lighting System Comparison Matrix
Different under-cabinet lighting technologies present distinct trade-offs between light quality, power delivery, installation permanence, and maintenance. The comparison matrix below details the four primary options for rental homes:
| Lighting Technology | Luminous Output & Color | Power Delivery & Runtime | Cabinet Interface | Best Rental Application |
|---|---|---|---|---|
| Rechargeable Magnetic LED Bar (Recommended) |
120 lumens to 200 lumens; warm 2700K to 3000K; CRI of 90 or higher | 1500 mAh to 2500 mAh battery; 30 days to 60 days (4 weeks to 8 weeks) sensor runtime | 0.5 millimeters thick steel plate; 3M Command Medium strip; snaps off easily for charging | Primary cutting counters, coffee stations, sink prep areas |
| Plug-In Low-Voltage LED Strip | Continuous linear glow; warm white; diffused silicone channel | Continuous AC wall adapter; requires cord clips along backsplash | Removable adhesive cable clips; visible cord to nearest wall outlet | Long continuous cabinet spans with an outlet directly underneath |
| Traditional Battery Puck Lights | Traditional battery puck lights produce 50 lumens to 80 lumens with a narrow 30 degrees to 45 degrees beam spread and CRI 70 to 80 | Demanding 3 AAA batteries per puck (9 to 12 total batteries) that drain in 15 hours to 20 hours | Twist-off adhesive backing disc; regular battery swaps required | Small pantry cupboards, utility closets, short-term spotlighting |
| Smart PIR Accent Bar | 120 lumens to 200 lumens; warm 2700K to 3000K white | Rechargeable lithium battery; 20 seconds auto-off delay | Magnetic baseplate with adhesive strips; daylight photocell | Nighttime beverage bars, late-night snack prep paths |
Renter Decision Framework: Selecting Your Ideal Fixture
Choosing the right lighting hardware depends on your daily kitchen routine, cabinet layout, and charging habits:
- Choose Rechargeable Magnetic LED Bars IF: You have standard upper wall cabinets without an electrical outlet inside or directly beneath them, you cook daily, and you want warm, continuous task lighting that detaches for convenient charging.
- Choose Plug-In Tape Channels IF: Your rental kitchen features an uninterrupted wall cabinet run directly above an available GFCI backsplash outlet, and you prefer continuous on-demand light without periodic battery charging.
- Avoid Traditional Battery Pucks IF: You want even illumination across an entire cutting board. Traditional pucks create harsh circular spotlights, wash out food colors due to low color rendering, and require frequent alkaline battery replacements.
Essential Tools and Materials for Rental Kitchen Lighting
Assembling a reliable under-cabinet task lighting setup requires quality fixtures, surface-safe mounting adhesives, and basic prep supplies:
- USB-C Rechargeable Magnetic LED Light Bars: Slim fixtures providing 120 lumens to 200 lumens with a warm 2700K to 3000K color temperature, CRI of 90 or higher, and a milky acrylic diffuser.
- Ferromagnetic Steel Baseplates: Mounting plates measuring 0.5 millimeters thick that serve as the magnetic anchor points under the cabinet.
- 3M Command Medium Picture Hanging Strips: Interlocking adhesive strips rated for 3 pounds to 4 pounds of static load to protect cabinet finishes during move-out.
- 70% Isopropyl Alcohol: Essential degreaser to remove kitchen grease vapor and cooking oil residues from cabinet undersides.
- Microfiber Cleaning Cloths: Lint-free towels for surface cleaning and alcohol wiping.
- Measuring Tape: To confirm the 1 inch to 2 inches front rail offset and center fixtures over prep areas.
- Unwaxed Dental Floss or Monofilament Line: A 12-inch length of dental floss for gently slicing factory foam tape should emergency removal be needed.
- USB-C Cable and Wall Charger: For routine 2 hours to 3 hours battery replenishment cycles.
Step-by-Step Installation: The No-Drill Task Lighting Method
Follow these structured steps to install shadow-free task illumination while protecting rental cabinetry:
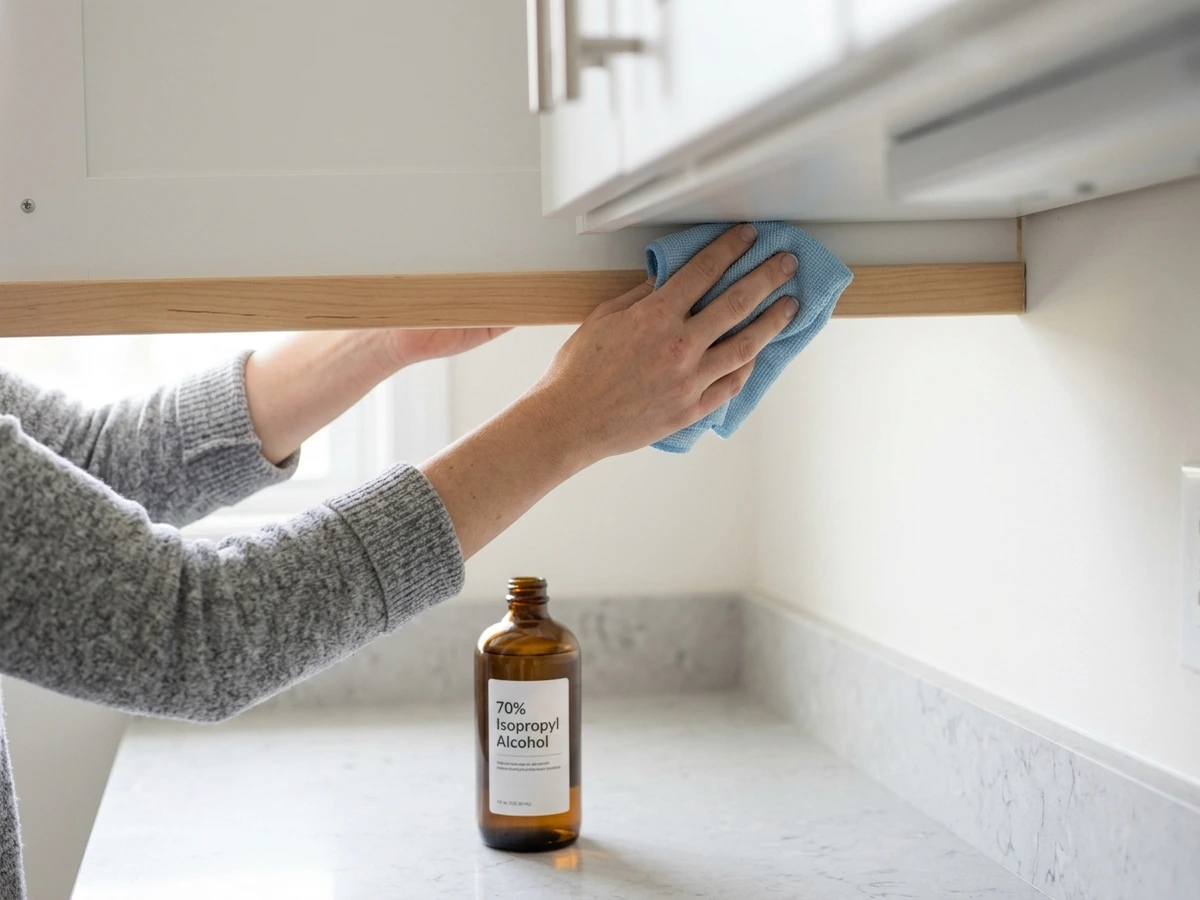
Step 1: Degrease Cabinet Undersides with Isopropyl Alcohol
Kitchen cabinet undersides collect an invisible film of airborne cooking grease, cooking oil vapor, and aerosolized moisture over time. Applying adhesive strips over an oily film prevents proper wetting and leads to adhesive failure.
Clean the cabinet underside thoroughly with 70% isopropyl alcohol, allow 10 minutes of drying time for complete evaporation, and press the adhesive baseplate firmly for 30 seconds. Dampen a clean microfiber towel with 70% isopropyl alcohol and wipe along the planned mounting strip path 1 inch to 2 inches behind the front rail.
Step 2: Confirm Stovetop and Steam Safety Clearances
Examine your planned mounting locations relative to active kitchen heat sources. Rechargeable light bars containing lithium-ion batteries must maintain a minimum buffer clearance of at least 24 inches to 30 inches horizontally and vertically from open gas flames, electric cooktops, and boiling kettle steam vents, keeping operating temperatures below 113°F (45°C). Keep light bars centered over food prep zones, slicing stations, and beverage bars rather than directly above cooktop burners.
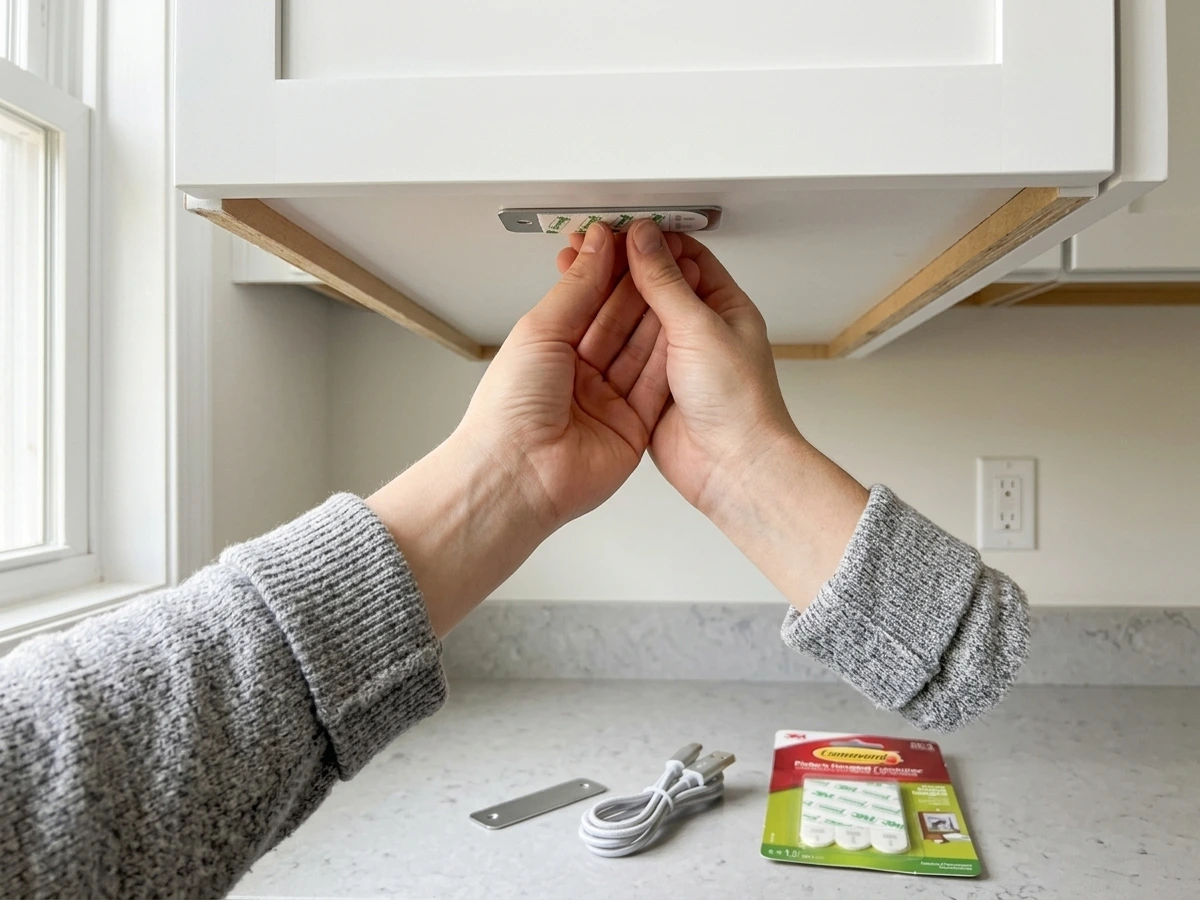
Step 3: Mount Magnetic Baseplates with 3M Command Strips
Magnetic light bars typically ship with thin metal landing plates backed by aggressive factory foam tape. Sticking aggressive factory tape directly to rental wood or melamine risks peeling delicate veneer when you move out.
Instead, apply 3M Command Medium Picture Hanging Strips between the cabinet underside and the steel plates. Mounting plates measuring 0.5 millimeters thick adhere using 3M Command Medium Picture Hanging Strips rated for 3 pounds to 4 pounds of static load, supporting a 0.5-pound aluminum light bar with ample safety margin. Press firmly for 30 seconds on each plate to establish an even bond.
Step 4: Dock Light Bars and Align Sensor Geometry
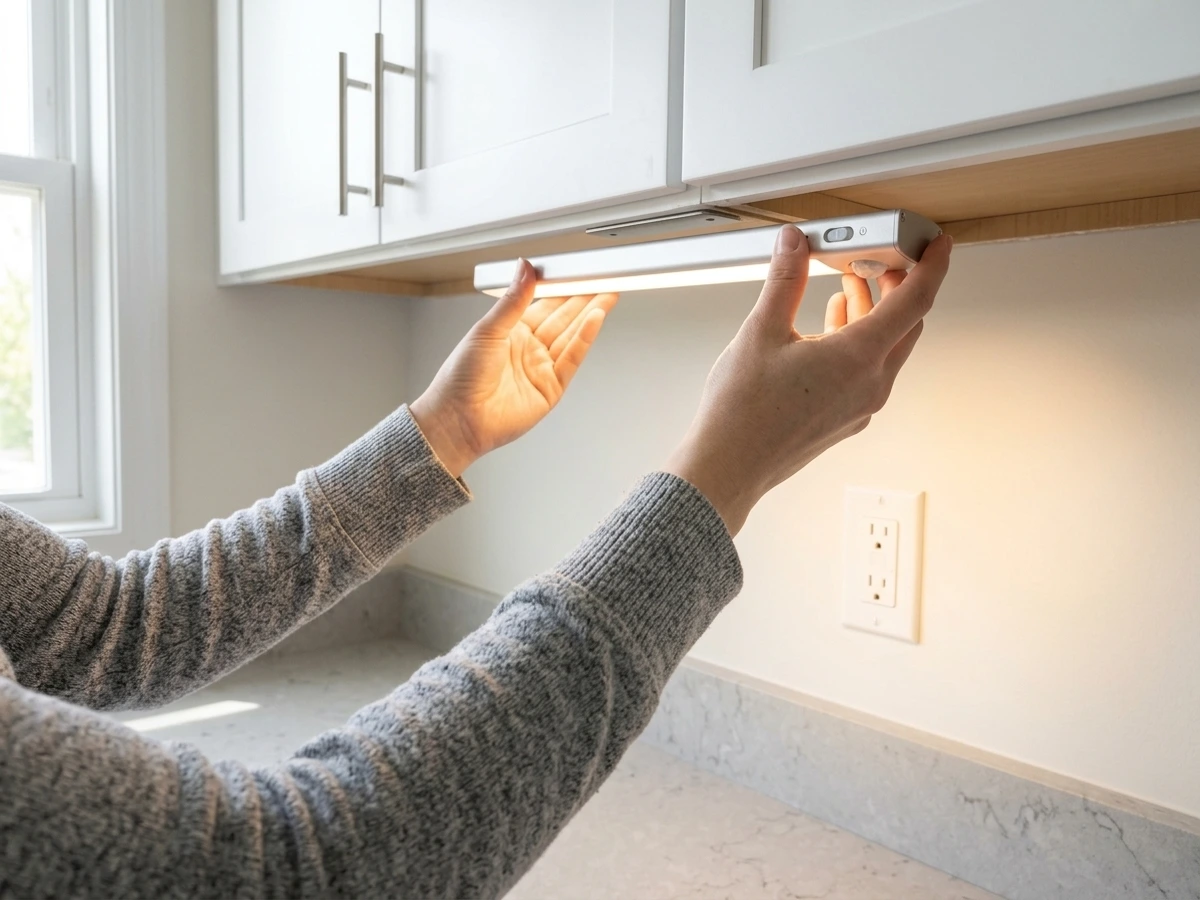
Snap the aluminum light bar onto the adhered steel baseplates. The integrated neodymium magnets hold the fixture firmly with a satisfying snap. Align the light bar so the round PIR motion sensor faces outward toward your prep station.
The PIR motion sensor features a 120-degree detection cone spanning up to 10 feet (3 meters) with a 20 seconds auto-off delay, while an ambient sensor suppresses triggers when room lighting exceeds 30 lux to 50 lux. This ensures that the fixture automatically illuminates as you approach the counter in dim conditions and turns off after 20 seconds of inactivity to preserve battery charge.
Step 5: Establish a Regular USB-C Charging Routine
Integrated 1500 mAh to 2500 mAh lithium-ion batteries provide 4 hours to 6 hours of continuous illumination, or 30 days to 60 days (4 weeks to 8 weeks) of motion-activated runtime based on 10 to 12 activations per day, requiring 2 hours to 3 hours to recharge via USB-C. When the light indicates low battery, detach the fixture from its magnetic baseplate easily, charge it with any standard USB-C cable for 2 hours to 3 hours, and snap it back into place.
Move-Out Removal: Safe Cabinet Extraction Protocol
When your lease concludes, taking down your under-cabinet lighting system requires only a few minutes and keeps cabinet finishes intact:
Safe Move-Out Removal Procedure
- Detach the Light Fixtures: Pull the aluminum light bars downward to detach them from the magnetic baseplates. Set the light bars, charging cables, and accessories into moving boxes.
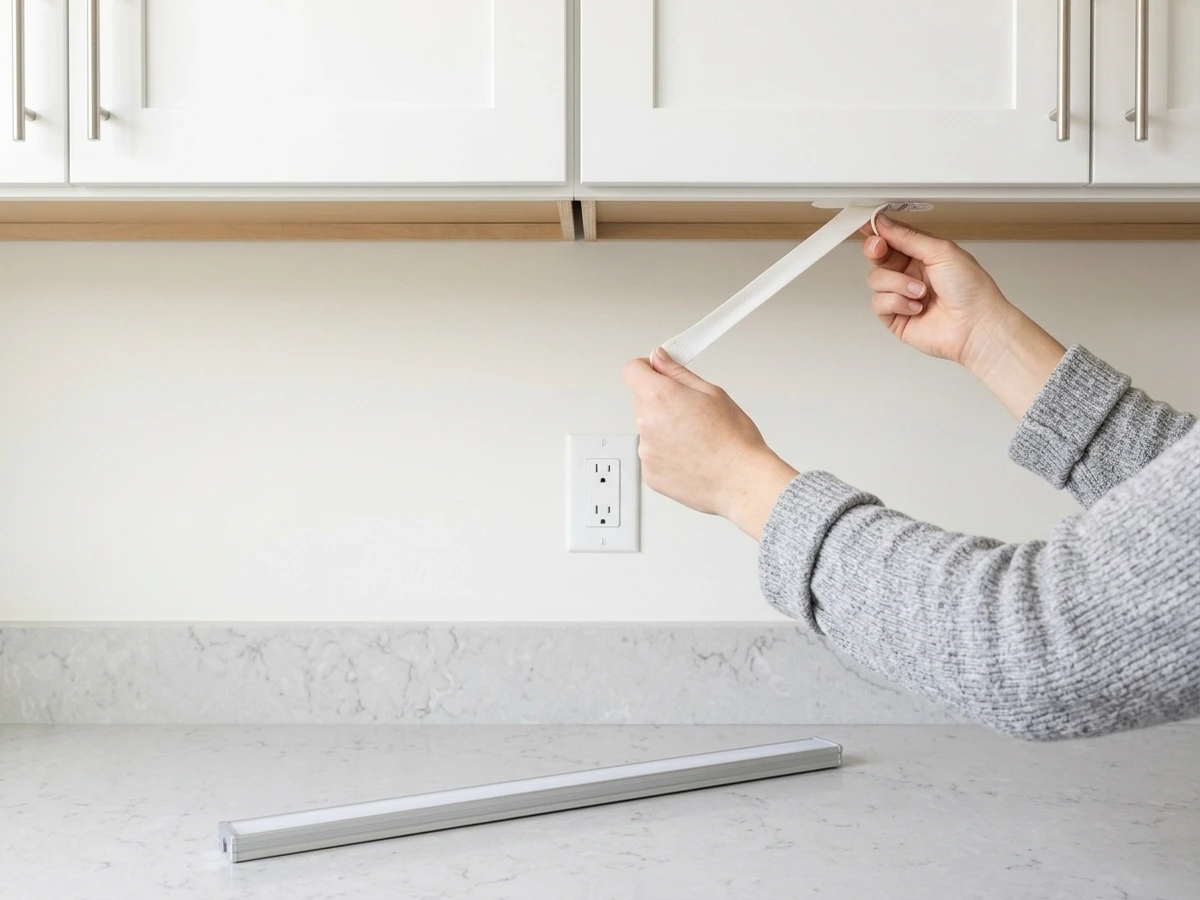
- Stretch-Release Command Adhesive: Grasp the exposed release tab on the Command strip. Pull the Command release tab slowly straight and flat along the cabinet surface for 10 inches to 12 inches until it releases cleanly from the cabinet wood. Do not pull the tab outward at an angle, which can tear the strip.
- Alternative Floss Technique for Factory Foam: If factory foam was used, do not pry metal plates with metal screwdrivers or knives. Pull the Command release tab slowly straight and flat along the cabinet surface for 10 inches to 12 inches until it releases, or slice factory foam with a 12-inch length of dental floss and rub remaining residue for 30 seconds to 45 seconds with 70% isopropyl alcohol.
- Final Cabinet Inspection: Wipe the cabinet underside with a dry microfiber cloth to leave the cabinet finish clean for your landlord inspection.
Real Renter Utility Audit: 9 Practical Move-Out Checks
This rental lighting method is evaluated against 9 core tenant considerations:
- Total Financial Cost: A full rental kitchen lighting setup costs between $25 and $45, including $20 to $35 for rechargeable light bars and $8 to $10 for Command strips and cleaning alcohol, requiring zero power tools.
- Tool Requirements: Only basic household supplies (measuring tape, microfiber cloth, rubbing alcohol); zero power drills or hole saws needed.
- Common Failure Modes: Installing adhesive over greasy cabinet surfaces without alcohol degreasing, or placing light bars too close to boiling kettle steam vents.
- Critical Renter Mistakes: Mounting lights directly against the rear backsplash wall, creating front prep shadows and blinding direct glare.
- Move-Out Removal Process: Takes only a few minutes per cabinet bay using standard stretch-release technique.
- Lease Agreement Compliance: Fully compliant with standard lease agreements because no cabinetry wood is bored and building wiring remains unaltered.
- Substrate Compatibility: Compatible with finished wood veneer, painted cabinetry (cured 7 days to 28 days), and melamine laminates.
- Poor Product Choices: Traditional battery pucks that require 3 AAA batteries per puck (9 to 12 total batteries) and produce uneven 50 lumens to 80 lumens spotty pools.
- Renter Alternatives: Plug-in tape channels with adhesive wire clips for continuous long runs, or freestanding cordless task lamps for small kitchen nooks.
Related Rental Upgrade Guides
Explore our companion guides for rental-friendly kitchen and home upgrades:
- Wireless Puck Light Sconce Hack: Add decorative wall lighting without electrical wiring.
- Rental Countertop Makeover Guide: Cover worn laminate countertops with waterproof architectural film.
- Peel-and-Stick Backsplash Guide for Rentals: Install removable subway tile backsplashes cleanly.
- Under-Sink Organization Guide for Rentals: Maximize under-sink storage around awkward plumbing pipes.
Frequently Asked Questions About Wireless Under-Cabinet Lights
How long do rechargeable under-cabinet LED lights last on a single charge?
Integrated 1500 mAh to 2500 mAh lithium-ion batteries provide 4 hours to 6 hours of continuous illumination, or 30 days to 60 days (4 weeks to 8 weeks) of motion-activated runtime based on 10 to 12 activations per day, requiring 2 hours to 3 hours to recharge via USB-C.
Where is the best position to place under-cabinet lights in a rental kitchen?
Locate light fixtures 1 inch to 2 inches behind the front decorative face rail to cast illumination downward across the entire 24-inch countertop depth while shielding occupants from direct line-of-sight glare.
Can you mount rechargeable light bars near a kitchen stovetop?
Rechargeable light bars containing lithium-ion batteries must maintain a minimum buffer clearance of at least 24 inches to 30 inches horizontally and vertically from open gas flames, electric cooktops, and boiling kettle steam vents, keeping operating temperatures below 113°F (45°C).
How do you remove adhesive mounting plates without damaging cabinet wood?
Pull the Command release tab slowly straight and flat along the cabinet surface for 10 inches to 12 inches until it releases, or slice factory foam with a 12-inch length of dental floss and rub remaining residue for 30 seconds to 45 seconds with 70% isopropyl alcohol.
Do under-cabinet LED light bars work on painted rental cabinets?
Yes, but freshly painted rental cabinets require a curing period of 7 days to 28 days before applying adhesive mounting hardware to prevent paint lift upon removal. Clean the surface thoroughly with 70% isopropyl alcohol before applying the adhesive strips.
