⚡ Quick Summary: DIY Contact Paper Countertops
To upgrade rental countertops without losing your deposit, use heavy-gauge (thick 0.3mm+) waterproof vinyl contact paper with low-residue acrylic adhesive (such as D-C-Fix or glossy marble vinyl). Apply using the wet squeegee method with soapy water mist to eliminate bubbles and hairdryer heat around bullnose rounded edges.
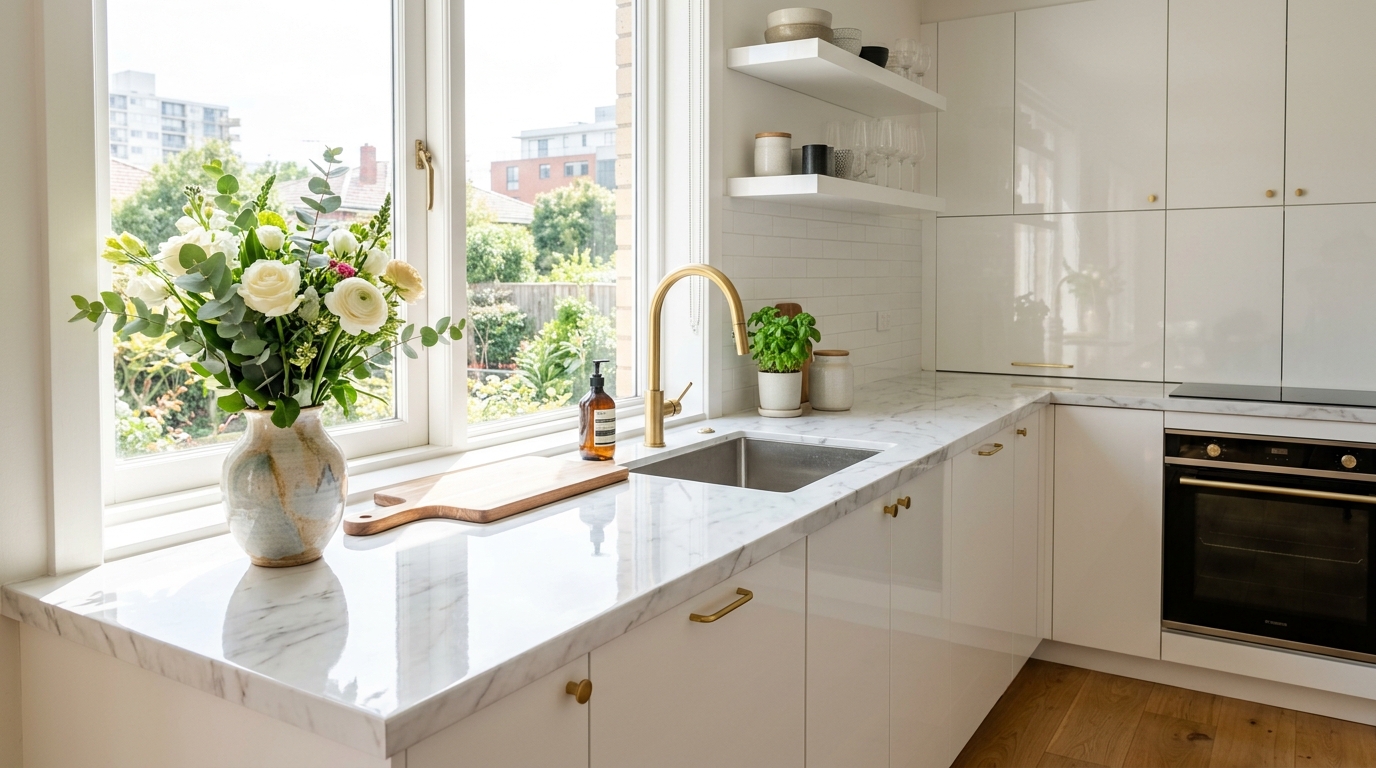
Old, stained, or faux-oak laminate countertops are the number one design pain point in rental apartments. With architectural-grade vinyl film, you can transform your kitchen counters into Carrara marble, slate concrete, or matte quartz in a single weekend.
Essential Tools Checklist
- Heavy-duty glossy or satin architectural vinyl film (minimum 0.25mm thickness)
- Felt-edge vinyl smoothing squeegee (prevents scratches during smoothing)
- Precision craft knife (X-Acto or snap-blade utility knife with fresh blades)
- Spray bottle with 2 drops of mild dish soap mixed in warm water
- Hairdryer or low-temp heat gun (for wrapping corners and rounded edges)
- 100% pure silicone sealant in translucent clear (for waterproof sink seams)
Step-by-Step Installation Protocol
Step 1: Deep Degreasing & Pre-cleaning
Laminate kitchen counters have invisible grease layers from cooking. Scrub thoroughly with rubbing alcohol or TSP substitute. Scrape away any dried paint drips with a razor blade until the counter is glass-smooth. Any tiny crumb underneath will cause a visible bump in the vinyl.
Step 2: The Wet Application Technique
Mist the counter lightly with your soapy water solution. Peel back 6 inches of backing paper, align the film straight along the back wall, and slowly smooth downward with your felt squeegee from the center toward outer edges. The water mist allows you to reposition the film if it goes crooked.
Step 3: Mastering Seams, Corners & Sinks
- Sink Basins: Overlap vinyl over the sink lip, then trace around the rim with your precision blade at a 45-degree angle. Seal the edge with a thin bead of removable clear silicone to prevent standing water from seeping underneath.
- Rounded Bullnose Edges: Warm the vinyl edge with your hairdryer for 5 seconds until it becomes soft and pliable. Stretch it smoothly down and under the counter lip.
- Seams: Overlap adjacent sheets by 1/2 inch, make a single straight cut through both layers with a steel ruler, and remove the excess strips for an invisible double-cut butt joint.
Maintenance & Heat Safety Rules
⚠️ Hot Pan Warning: Never place hot pots, air fryers, or toaster ovens directly onto vinyl contact paper. Always use silicone trivets or acacia wood cutting boards.
Clean Removal at Move-Out Time
When it’s time to vacate, lift one corner and warm the sheet with a hairdryer on high heat. Pull steadily back at a 45-degree angle. If any adhesive residue remains on the laminate, wipe it clean with Goo Gone or rubbing alcohol—it will wipe away in seconds leaving the original counter 100% intact.