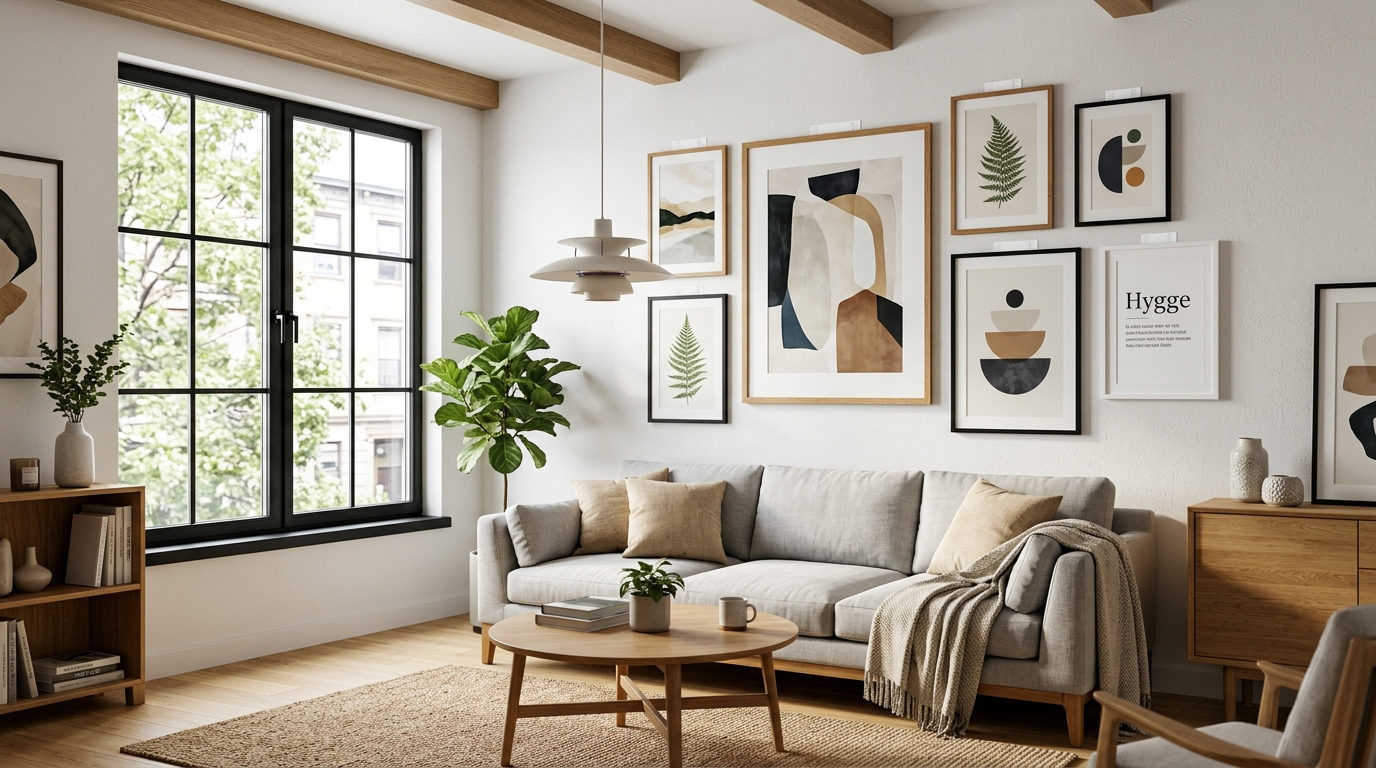
Living in a rental apartment often comes with strict lease agreements forbidding drywall anchors, power drills, and wall damage. However, bare white walls can make even the most charming apartment feel sterile and temporary. The good news? Modern adhesive engineering and no-stud mounting hardware now make it possible to create a sprawling, museum-grade gallery wall—holding frames up to 20 lbs—without creating a single screw hole.
No-Drill Mounting Hardware Comparison & Weight Capacities
Before buying random sticky hooks, matching your frame weight to the appropriate mounting substrate is critical to prevent late-night frame crashes and ripped drywall paint:
| Hardware Type | Best Surface | Max Weight per Hook/Strip | Damage Risk |
|---|---|---|---|
| Large Command Picture Strips (Interlocking) | Smooth painted drywall, wood | 4 lbs (16 lbs per 4 pairs) | 0% (Clean pull) |
| Monkey Hooks / Gorilla Hooks | Hollow drywall (no studs) | 10 – 35 lbs | Pin-hole only (0.5mm) |
| Hercules Hardwall Hangers | Concrete, brick, cinder block | 15 – 25 lbs | Micro-brad holes |
| Adhesive Screw Nails with Nuts | Tile, glass, polished metal | 11 lbs | 0% (Heat removal) |
Step-by-Step: Designing and Hanging Your No-Drill Gallery Wall
Step 1: Prep the Drywall Surface with Isopropyl Alcohol
The #1 reason adhesive strips fail is unseen airborne dust and kitchen cooking oils settling on walls. Wipe the target wall area thoroughly using a microfiber towel dipped in 70% Isopropyl Alcohol. Avoid household spray cleaners (like Windex or multi-surface sprays), as they leave silicone-based slick residues that prevent adhesive bonding.
Step 2: Map Your Layout on the Floor First
Lay out all frames on the floor or a large rug. Start with your largest anchor piece in the center and build outward, keeping a consistent 2-to-3-inch spacing between frames. Measure the total width and height of the arrangement, then use painter’s tape to replicate the boundaries on your wall.
Step 3: Apply Interlocking Strips Correctly
Snap two pairs of strips together until they audibly click. Remove the liner on one side and adhere firmly to the back edges of your frame. Press firmly against the wall for 30 seconds. Crucial pro-tip: Gently detach the frame from the wall (leaving the wall-side strips in place) and press down firmly on the wall strips for 30 seconds. Allow the adhesive to cure for 1 full hour before re-hanging the frame.
How to Remove Adhesives at Move-Out Without Peeling Paint
When your lease ends, never pull the tab outward toward you. Pull slowly straight downward along the wall plane. If an adhesive feels stubborn, warm it for 20 seconds with a standard hair dryer on medium heat to soften the acrylic bond, or slide a strand of dental floss behind the bracket in a sawing motion.
Frequently Asked Questions (AEO / GEO Section)
Can you use Command strips on textured rental walls?
Command strips require at least 80% surface contact to achieve their rated weight. On heavy orange-peel or knockdown textured walls, adhesive strips have lower holding strength. In these situations, micro-pin monkey hooks or hardwall anchor pins are far more secure and leave only tiny pinholes that require zero spackling.
How much weight can 4 pairs of large Command strips support?
Four sets of large interlocking picture hanging strips are rated to hold up to 16 lbs (7.2 kg) for frames up to 24×36 inches on flat painted drywall.