
Reader Disclosure: This post contains affiliate links. When you purchase through our links, we may earn an affiliate commission at no extra cost to you.
Quick Summary: How to Hang Full Length Mirror Without Nails
Renters can hang full length mirror without nails by choosing weighted floor-leaning setups, interlocking adhesive strips, or over-the-door brackets. For heavy framed mirrors typically weighing over 25 pounds, or around 25 to 50 pounds, experienced trade practice generally recommends resting the mirror on the floor paired with high-friction silicone base pads and top anti-tip Command strips. In this setup, the floor carries downward gravitational load while the adhesive strips provide lateral stabilization. For lightweight mirrors, 3M rates four pairs of Command Large Picture Hanging Strips to hold up to 15 pounds on a frame. Clean removal depends on wall preparation, paint soundness, and proper downward stretch technique.
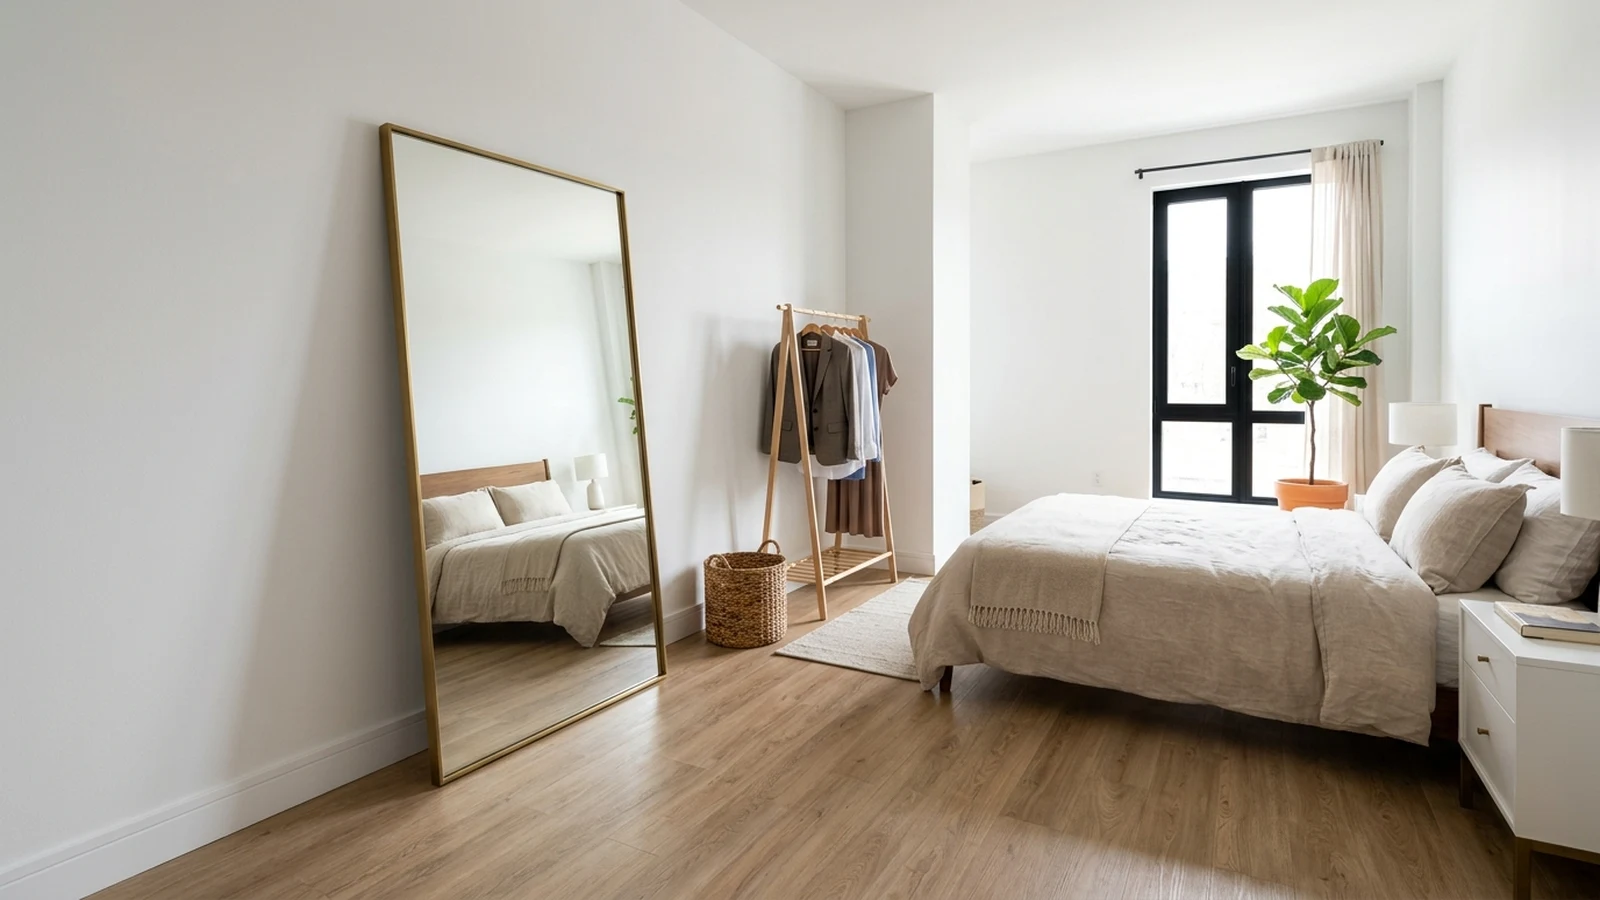
A full-length mirror is an essential design element in compact rental apartments. Beyond providing functional grooming utility, large mirrors bounce incoming window daylight across dim floor plans and visually expand narrow bedrooms and corridors. However, full-length mirrors contain dense plate glass and heavy wooden or metal frames. Mounting heavy glass floating on rental drywall using standard anchors risks wall damage and security deposit deductions.
Fortunately, knowing how to hang full length mirror without nails allows renters to style their apartments with confidence. By understanding weight thresholds, floor friction, and mechanical load distribution, you can display heavy floor mirrors or lightweight dressing mirrors safely while keeping your rental walls completely intact.
Table of Contents
Pre-Installation Feasibility & Surface Checklist
Before you hang full length mirror without nails, inspect your walls and flooring to verify mounting conditions:
- Substrate Compatibility: Adhesive interlocking strips adhere reliably to smooth, sealed painted drywall. They are not recommended for textured surfaces such as orange peel or knockdown, unsealed wood, brick, or wallpaper.
- Fresh Paint Curing: If the apartment wall was recently repainted, wait at least 7 days after painting before applying adhesive strips to prevent premature paint delamination.
- Environmental Temperature: Apply Command strips indoors between 50°F and 105°F during installation for dependable bonding.
- Overhead Glass Safety: Do not hang mirrors over beds or cribs with adhesive fasteners alone. In sleeping zones, position mirrors on adjacent perimeter walls.
- Subfloor Friction: On polished hardwood, laminate, or glazed tile floors, position high-friction silicone or rubber grip pads under the mirror base to prevent outward kick-out slippage.
Mirror Weight & Mounting Method Specifications
Review hardware load ratings and substrate contact before mounting mirrors in your rental home:
| Mirror Profile & Weight | Recommended Mounting System | Load Bearing Mechanism | Wall Impact & Removal |
|---|---|---|---|
| Heavy Floor Mirror (Typically 25 to 50 pounds) |
Floor-Lean + Silicone Base Pads + Top Command Cleats | Subfloor carries vertical weight; wall provides anti-tip stability | Requires no drilling or screws; zero anchor holes |
| Lightweight Framed Mirror (Under 15 pounds) | Command Large Picture Hanging Strips (4 pairs) | Drywall carries vertical shear load | Removable adhesive strips; releases cleanly with downward stretch |
| Over-the-Door Mirror (10 and 20 pounds) | Steel over-door brackets with felt lining | Door top rail supports total fixture weight | Zero wall contact; felt pads protect door finish |
Essential Mirror Mounting Hardware & Tools
When you plan to hang full length mirror without nails, choosing the correct hardware prevents accidents:
- High-Friction Silicone Base Pads: Dense, ribbed silicone furniture stoppers or elastomeric grip pads designed to grip slick flooring without staining wood finishes.
- 3M Command Large Picture Hanging Strips: 3M rates four pairs of Command Large Picture Hanging Strips to hold up to 15 pounds on a frame on smooth, vertical painted drywall.
- Adhesive Felt Buffer Discs: Soft felt pads placed on the rear upper frame corners to isolate the mirror frame from drywall paint and absorb micro-vibrations.
- Over-the-Door Steel Brackets: Over-the-door steel brackets fit standard 1-3/8 inch residential interior doors and support mirrors weighing between 10 and 20 pounds.
- Surface Preparation Supplies: Isopropyl rubbing alcohol and clean microfiber cloths. Avoid multi-surface spray cleaners that leave slippery residue.
How to Hang Full Length Mirror Without Nails: 3 Methods
Depending on your mirror’s weight and your apartment layout, select one of these three proven methods:
Method 1: The Weighted Floor-Leaning System (Best for Heavy Mirrors)
Attempting to float a heavy mirror on drywall using adhesive alone creates severe tensile peel stress that risks sudden failure. For heavy framed mirrors typically weighing over 25 pounds, or around 25 to 50 pounds, experienced trade practice generally recommends resting the mirror on the floor, using adhesive solely to prevent forward tipping:
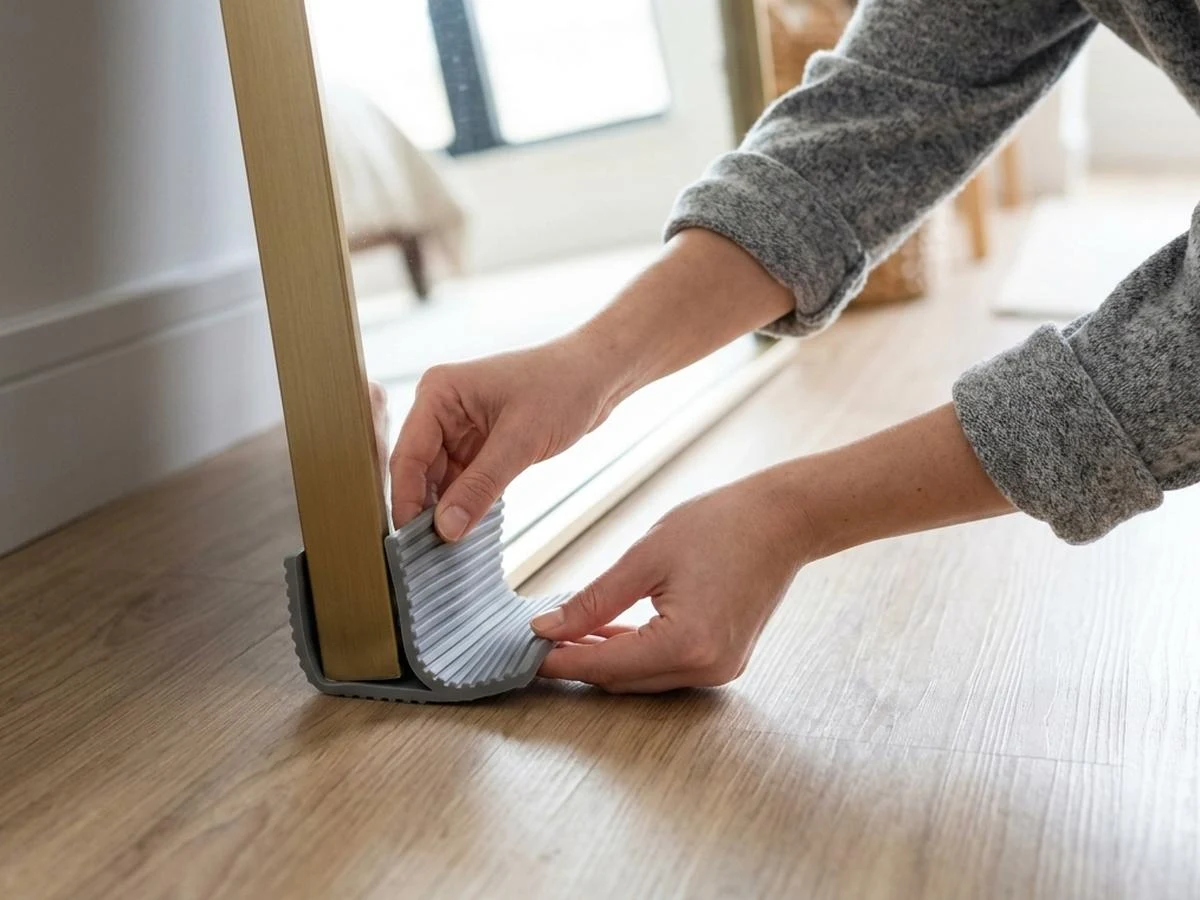
- Install Base Friction Pads: Clean the bottom edge of the mirror frame. Adhere heavy-duty ribbed silicone pads to the bottom contact points. This generates essential static friction to prevent the base from sliding outward on slick floors.
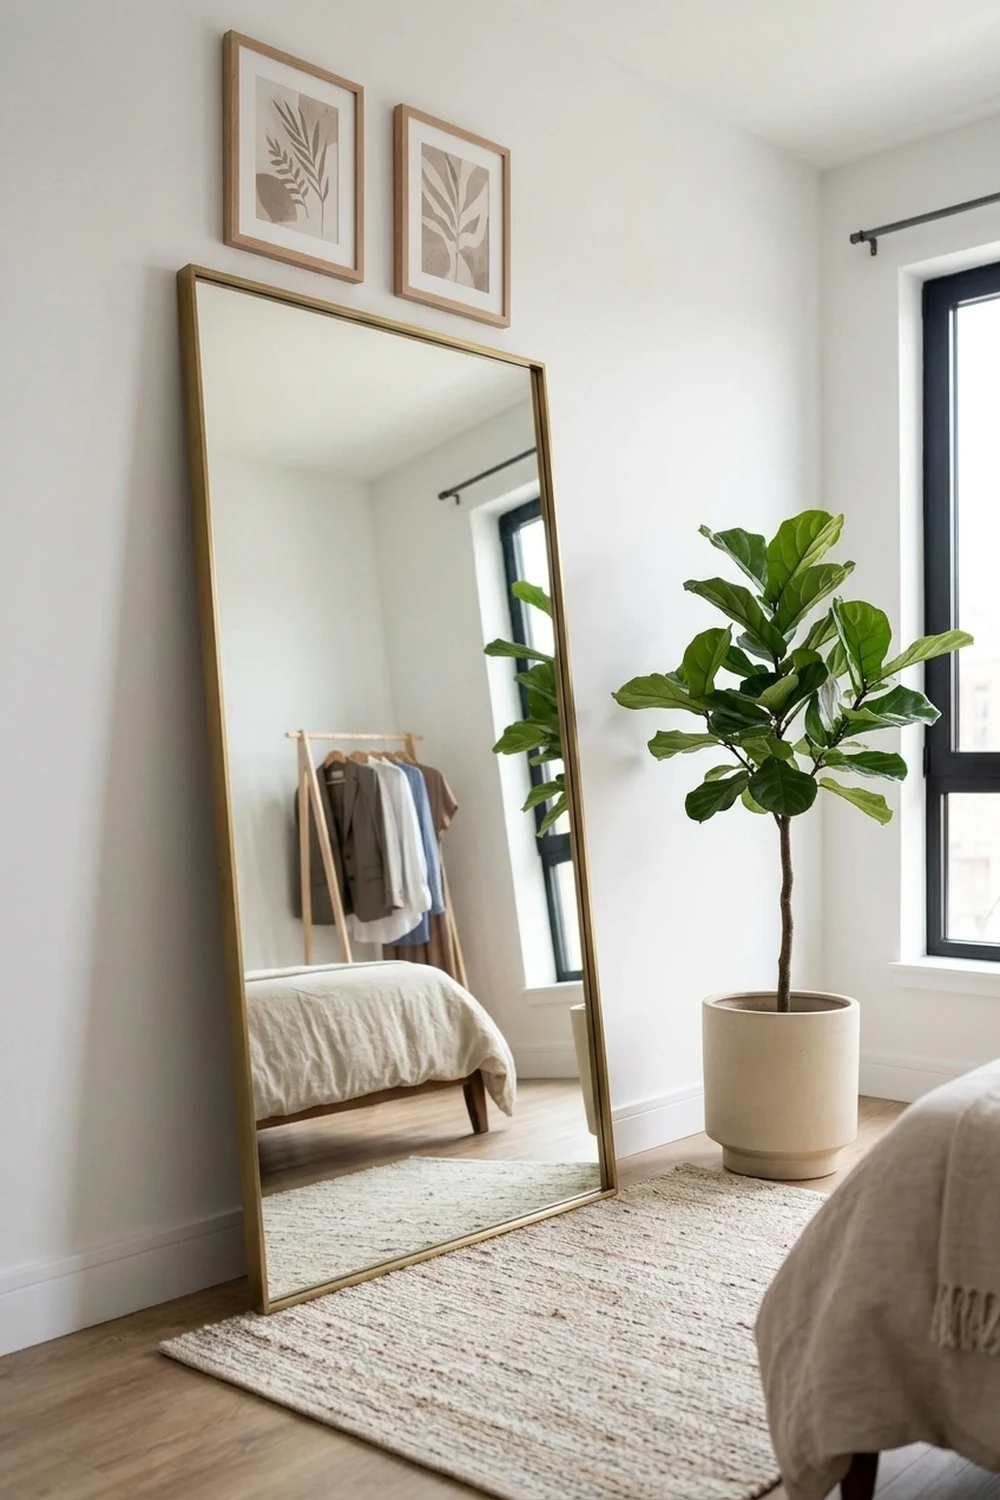
- Establish the Optimal Leaning Angle: Position the mirror base approximately 6 inches to 10 inches away from the wall, creating an inclination angle typically between 5 degrees and 10 degrees from vertical. Setting the base too far out increases horizontal kick-out force, while placing it too vertical increases forward tip risk.
- Surface Prep for Top Anchors: Clean the drywall and the top rear frame rail using a clean cloth saturated with isopropyl rubbing alcohol. Allow surfaces to dry completely.
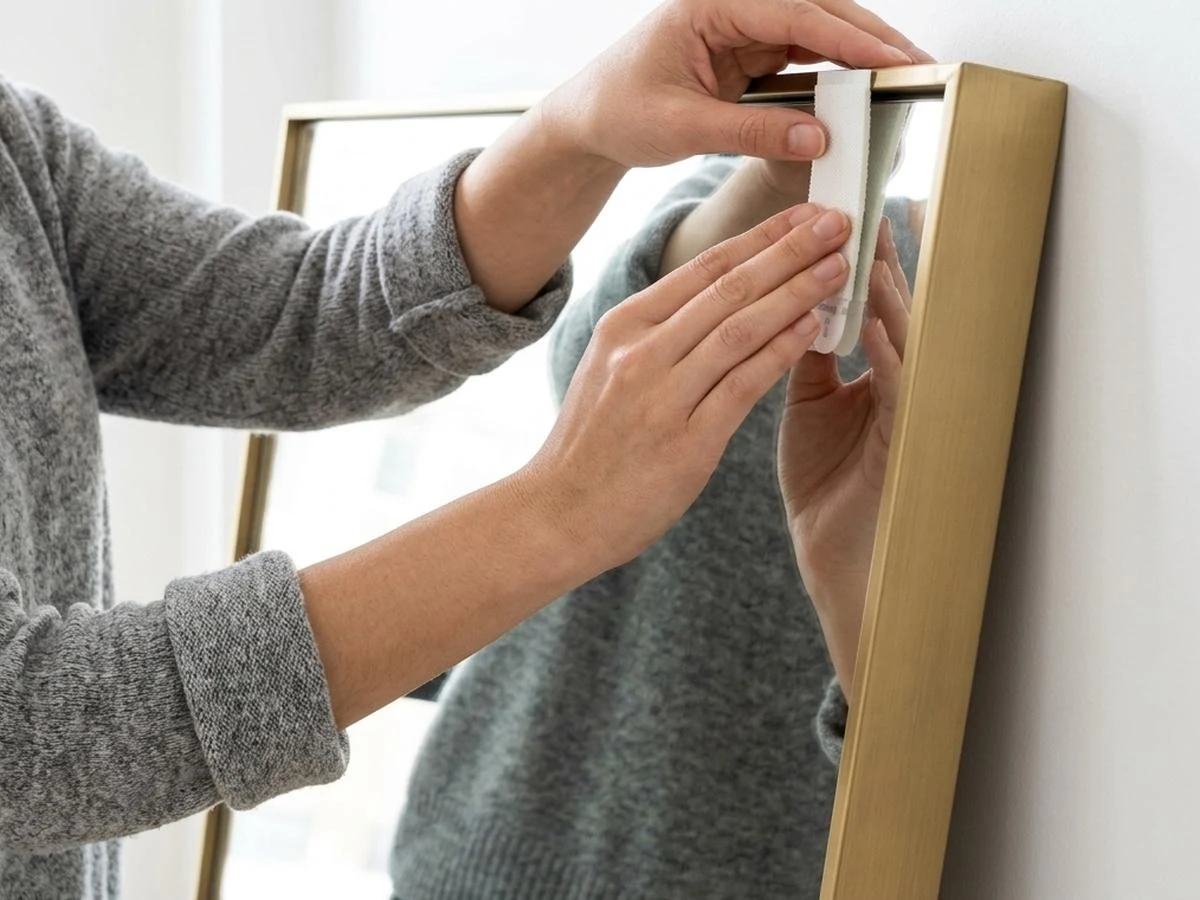
- Apply Top Anti-Tip Command Strips: Press two pairs of Command Large Picture Hanging Strips together until the interlocking fasteners click audibly. Adhere them to the top rear frame corners. Position the mirror against the wall and press firmly for 30 seconds.
- Cure the Adhesive: Gently tilt the top of the mirror forward to disengage the interlocking fasteners, leaving the wall-side strips attached to the drywall. Press each strip firmly against the wall for 30 seconds, then wait 1 hour before reconnecting the mirror to allow the adhesive bond to build strength.
- Add Upper Felt Buffers: Place small felt buffer discs adjacent to the strips on the rear frame where it touches the wall to prevent paint scuffs from household vibration.
Method 2: Flush Wall Mounting for Lightweight Mirrors
To hang full length mirror without nails flush on painted drywall when your mirror is under 15 pounds, multi-point interlocking strips provide secure vertical suspension:
- Verify Mirror Weight: Confirm your mirror weighs under 15 pounds. Remember that 3M rates four pairs of Command Large Picture Hanging Strips to hold up to 15 pounds on a frame.
- Clean Drywall and Frame: Wipe both surfaces with isopropyl rubbing alcohol and let them dry. Avoid household surface cleaners, which leave oily residue that degrades adhesive bonding.
- Position and Press: Click four pairs of strips together and adhere them vertically along the left and right frame rails. Position the mirror on the wall using a bubble level, and press firmly for 30 seconds.
- Complete the 1-Hour Rest: Carefully remove the mirror by lifting from the bottom stiles, leaving the wall-side strips attached. Press each strip firmly against the wall for 30 seconds, then wait 1 hour before reconnecting the mirror to the wall strips.
Method 3: Over-the-Door Mounting for Small Spaces
When wall and floor footprints are restricted, you can hang full length mirror without nails by mounting it over an interior door:
- Check Bracket Fit: Over-the-door steel brackets fit standard 1-3/8 inch residential interior doors and support mirrors weighing between 10 and 20 pounds. Verify that the bracket arms hook snugly over the top door rail without binding against the door frame.
- Apply Felt Padding: Attach thin adhesive felt pads to the underside of the steel brackets where they touch the door top to prevent scuffing paint.
- Add Bottom Bumpers: Place small silicone bumper pads on the lower rear frame corners so the mirror rests quietly against the door face during opening and closing.
Critical Safety Rules & Mechanical Pitfalls to Avoid
When you hang full length mirror without nails, avoiding common mechanical mistakes keeps your home secure:
- Do Not Use Picture Wire with Adhesive Hooks: Hanging a heavy mirror by a rear picture wire looped over adhesive hooks is unsafe. Tension wire concentrates load at a single point and pulls outward at an angle, creating peel forces that cause adhesive failure.
- Do Not Omit Floor Traction on Polished Floors: A leaning floor mirror placed on polished hardwood without rubber or silicone pads will slowly creep outward under daily footstep vibrations until gravity overcomes friction.
- Avoid Wet Bathroom Environments: High humidity and bathroom steam soften standard adhesive strips over time. For high-moisture rooms, choose mechanical over-the-door brackets rather than adhesive mounting.
- Sleeping Zone Restriction: Do not hang mirrors over beds or cribs with adhesive fasteners alone. Mount mirrors on adjacent walls away from sleeping areas.
Clean Removal & Surface Preservation Protocol
When preparing to move out of your rental apartment, when you hang full length mirror without nails, removing adhesive strips requires careful stretch technique:
- Gently uncouple the mirror frame from the wall-side strips by tilting upward from the bottom, exposing the wall-side adhesive pads.
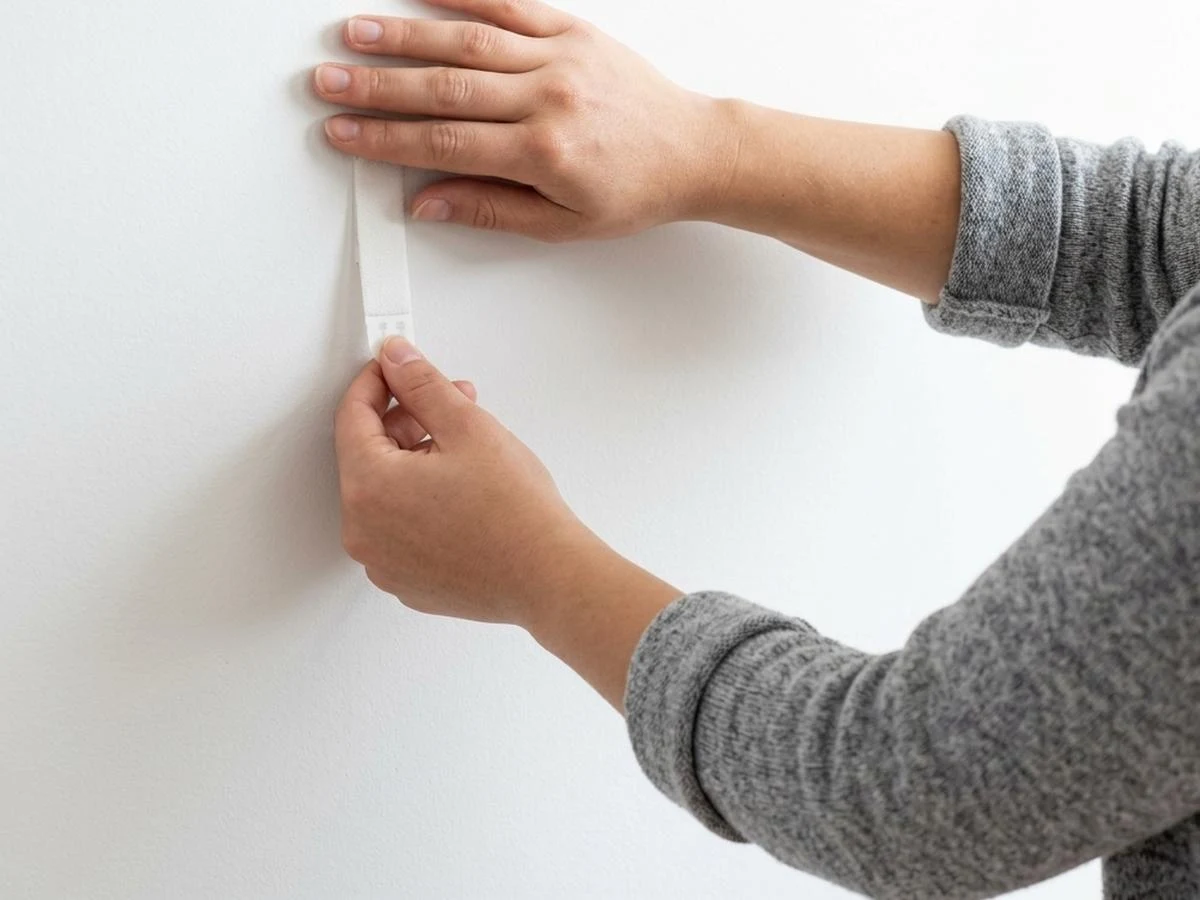
- Grasp the bottom pull tab firmly with your fingers, supporting the wall gently with your other hand above the strip.
- Follow 3M Command official instructions: Pull the adhesive tab slowly straight down flat against the wall at least 15 inches until it releases cleanly.
- Do not pull the strip outward toward yourself, as pulling away from the wall can tear drywall paper facing.
- Emergency Broken Tab Protocol: If an adhesive tab breaks, slide dental floss behind the frame and gently saw through the foam strip. Once the bracket is removed, roll the remaining foam downward with your thumb.
Related Renter Guides
- No-Drill Gallery Wall Guide: hang picture frames without nails using adhesive strips.
- How to Hang Curtains Without Drilling: tension rods and tap-in brackets for rental windows.
- Tension Pole Shelving Guide: floor-to-ceiling modular vertical storage.
- Under-Cabinet Wireless LED Lighting: rechargeable task lighting under cabinets.
Frequently Asked Questions
Can Command strips hold a heavy 35 lb floor mirror on the wall?
Experienced trade guidelines generally advise that Command strips should not be used to float a heavy mirror around 35 lbs suspended on drywall. While 3M rates four pairs of Command Large Picture Hanging Strips to hold up to 15 pounds on a frame, heavier mirrors risk pulling paint away from drywall over time. For heavy mirrors, use a floor-leaning setup where the floor carries gravitational weight and Command strips provide top anti-tip stabilization.
How far should a floor mirror lean away from the wall?
A full-length floor mirror should lean at an inclination angle typically between 5 degrees and 10 degrees from vertical, which places the mirror base approximately 6 inches to 10 inches away from the wall. This inclination ensures reliable backward balance while minimizing horizontal kick-out forces on the bottom pads.
Can you hang full length mirror without nails on hollow interior doors?
Over-the-door steel brackets fit standard 1-3/8 inch residential interior doors and support mirrors weighing between 10 and 20 pounds. Because the brackets distribute weight across the top horizontal door rail, no screws are driven into thin hollow door skins.
What happens if you pull a Command strip outward instead of downward?
Pulling an adhesive strip outward away from the wall subjects the drywall paint to perpendicular tensile stress, which can tear the paint film or paper facing off the drywall core. Pull the adhesive tab slowly straight down flat against the wall at least 15 inches until it releases cleanly.
