
Quick Assessment: Removable Wallpaper Safety in Rental Homes
Can peel-and-stick removable wallpaper be hung in rentals without stripping paint? Removability depends on wall paint finish, paint curing duration, and deliberate removal mechanics. Following our removable wallpaper renter-safe guide, self-adhesive panels release smoothly from fully cured satin, eggshell, and semi-gloss paint sheens that have cured for at least 14 to 28 days (ideally 30 days). Conversely, flat builder-grade paint or uncured drywall surfaces carry higher risks of paint adhesion transfer. Safe move-out extraction requires folding panels flat and pulling slowly downward at a 180-degree angle parallel to the wall, with gentle hair dryer warmth applied if adhesive resistance occurs.
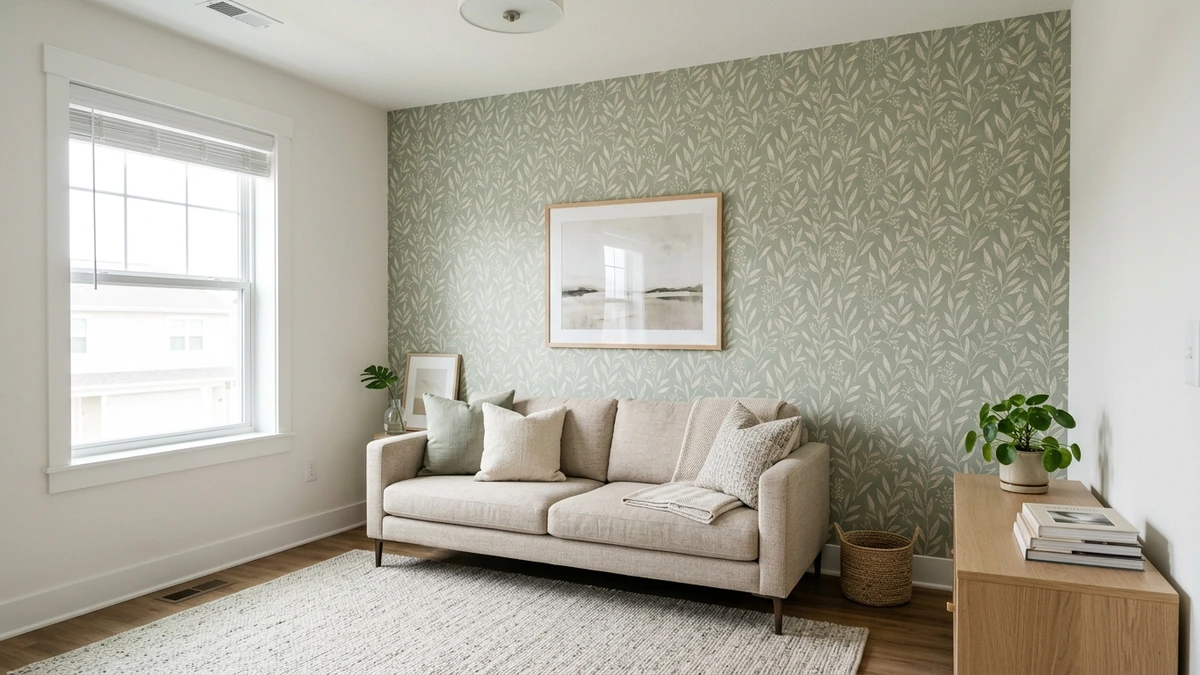
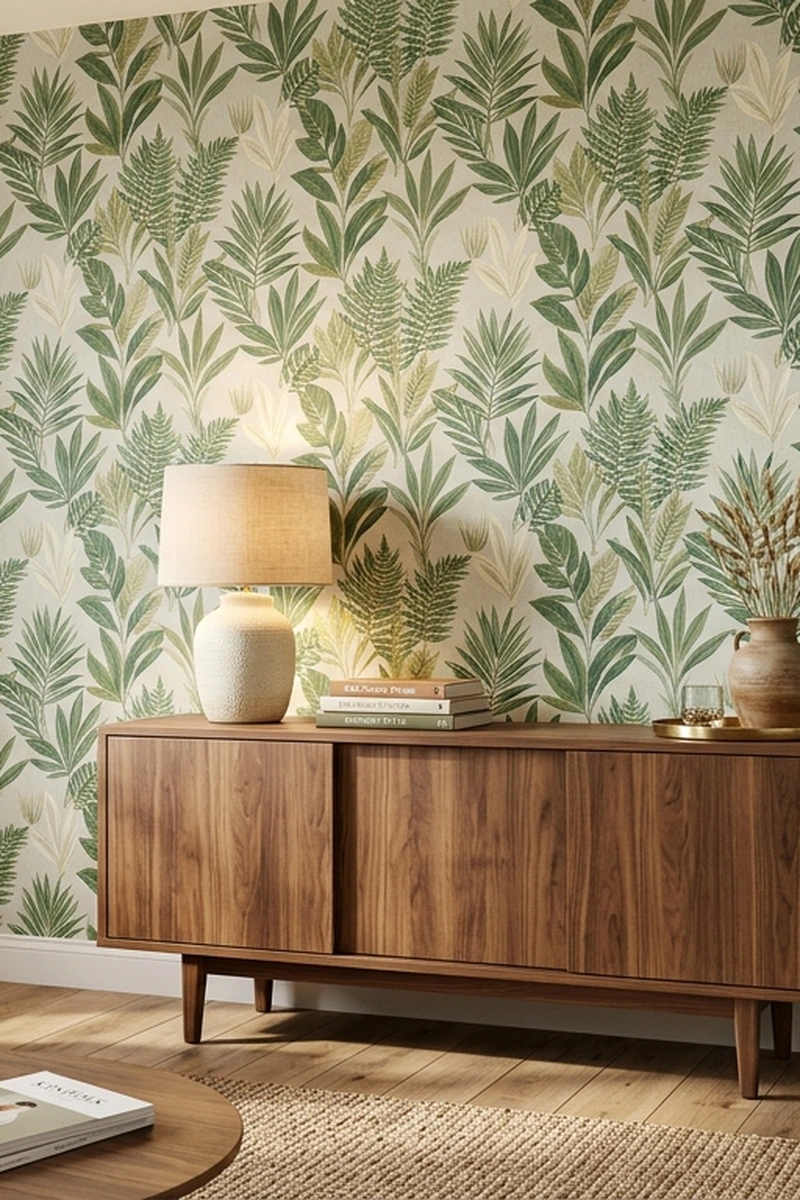
Blank off-white walls and generic rental drywall can leave an apartment feeling sterile and uninviting. While standard lease agreements strictly prohibit painting bold accent walls or hanging traditional pasted wallpaper, peel-and-stick removable wallpaper offers tenants a flexible decorative upgrade without permanent alterations. Modern self-adhesive panels allow renters to introduce rich patterns, botanical motifs, or mural art into living rooms, bedrooms, and home offices without violating lease terms.
However, successful peel-and-stick wallpaper hanging in a leased apartment requires understanding the physical bond between pressure-sensitive acrylic adhesives and residential paint films. Applying self-adhesive panels without verifying paint cure times or substrate sheens can lead to panel sagging, seam curling, or localized paint tearing upon lease conclusion. By pairing proper surface preparation with disciplined hanging mechanics, renters can personalize their living space while preserving the landlord underlying wall finish.
Table of Contents
Wall Feasibility: Paint Sheen and Curing Assessment
Before selecting patterns or ordering rolls, assessing your rental wall substrate determines whether your space is suited for removable wallpaper. Self-adhesive vinyl and woven wallpapers interact differently with various drywall preparations, paint formulations, and ambient room conditions:
- Paint Curing Timeline: Freshly painted rental drywall must cure for at least 14 to 28 days (ideally 30 days) prior to wallpaper installation. Paint feels dry to the touch within hours, but internal coalescing liquids continue evaporating for up to 4 weeks. Applying wallpaper over uncured paint traps moisture, which causes the adhesive to bond aggressively to the paint layer and elevates tearing risks during move-out.
- Paint Sheen Compatibility: Satin, eggshell, and semi-gloss paint sheens provide smooth, sealed surfaces that allow clean peel-and-stick release. Highly porous flat or matte builder-grade paint absorbs adhesives too aggressively, requiring careful pre-testing.
- Textured Wall Evaluation: Orange-peel, knockdown, and heavy drywall textures reduce actual adhesive surface contact area. Trapped micro-air pockets cause thin vinyl wallpaper to loosen, bubble, or drop over time. Smooth drywall is required for standard self-adhesive films.
- Adhesion Patch Test: Apply a sample swatch from your roll in an inconspicuous location, such as low behind an open bedroom door or inside a closet. Inspect your test patch after approximately 24 hours to confirm dependable adhesion and clean release behavior.
- Pre-1980 Vintage Paint Caution: Vintage drywall or trim finished prior to 1978 may contain lead-based paint, while older panels in pre-1980 buildings must never be scraped, sanded, or disturbed. Temporary wallcoverings must sit undisturbed on sound, intact substrates.
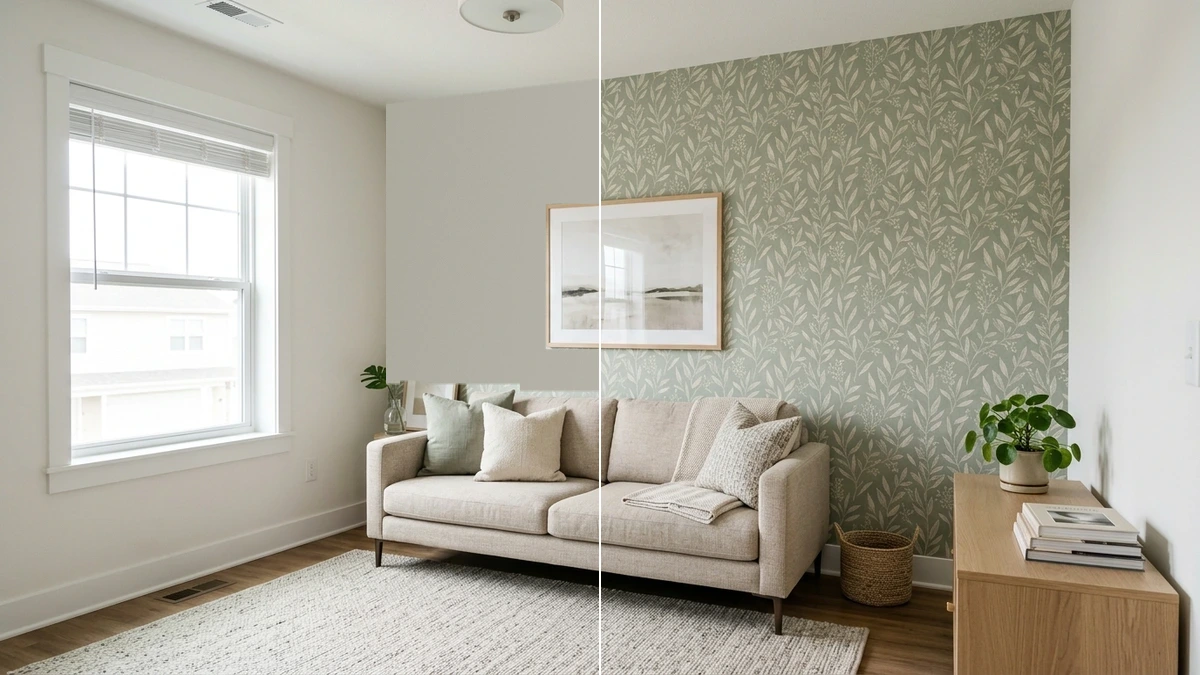
Removable Wallpaper Material Comparison Matrix
Understanding the physical differences between wallpaper substrates helps renters select the ideal material for their apartment layout, wall texture, and anticipated lease length:
| Wallpaper Material Type | Substrate Compatibility | Adhesion & Dimensional Stability | Move-Out Removal Profile | Best Rental Application |
|---|---|---|---|---|
| Self-Adhesive Virgin Vinyl (e.g., Tempaper, WallPops) |
Smooth drywall finished with eggshell, satin, or semi-gloss paint | Water-based repositionable acrylic adhesive; water-resistant surface wiping | Slow 180-degree parallel downward peel; releases smoothly with minimal residue | Living room accent walls, rental bedrooms, entryways, and powder rooms |
| Woven Peel-and-Stick Fabric (e.g., Chasing Paper) |
Smooth to very lightly textured drywall | Breathable woven polyester face; resists stretching during repositioning | Clean dry peel without thermal assistance; tear-resistant fabric substrate | High-traffic hallways, dining rooms, and tenants seeking matte fabric textures |
| Traditional Pre-Pasted / Non-Woven (Water-Activated Paste) |
Primed, sealed drywall with impermeable paint | Water-soluble starch or cellulose adhesive paste; requires water trough activation | Requires damp sponging to reactivate paste; higher labor cleanup for renters | Long-term tenants with landlord approval for semi-permanent installations |
| Peel-and-Stick Vinyl on Flat Paint (Chalky Contractor Matte) |
Porous flat or matte builder-grade paint | Adhesive penetrates chalky open pores; risk of paint delamination | Requires low-heat hair dryer softening and deliberate edge peeling | Only recommended after passing a rigorous adhesion patch test |
Essential Tools and Materials for Precision Wallpapering
Hanging seamless wallpaper panels requires a specialized toolkit to ensure vertical plumb alignment and clean perimeter trimming:
- Peel-and-Stick Wallpaper: High-grade self-adhesive rolls with matching run dye lots. Standard peel-and-stick wallpaper rolls typically measure 20.5 inches wide by 16.5 feet long, covering approximately 28 square feet per roll.
- Felt-Edge Squeegee: Wallpaper smoothing tool fitted with a soft microfiber felt buffer to eliminate air bubbles without scratching decorative ink.
- Heavy-Duty Snap-Off Utility Knife: Precision cutting tool with fresh segmented razor blades.
- Rigid Steel Straightedge: Heavy metal ruler or carpenter level for guiding perimeter score lines.
- Carpenter Level or Plumb Line: Standard torpedo or box level for establishing true vertical reference lines.
- Isopropyl Alcohol: Mild cleaning wash for removing wall oils, dust, and grease film prior to hanging.
- Microfiber Cleaning Cloths: Lint-free towels for washing, drying, and tacking drywall surfaces.
- Steel Tape Measure: Accurate metal tape for measuring wall heights, ceiling offsets, and pattern repeats.
- Variable-Temperature Hair Dryer: Household hair dryer for softening adhesive during move-out panel removal.
Removable Wallpaper Renter-Safe Guide: Step-by-Step Installation
Achieving clean pattern seams and straight vertical panels in an apartment with imperfect walls requires methodical execution across five key stages.
Step 1: Wall Cleaning, Degreasing, and Drying
Adhesion failures almost always originate from surface dust, soot, or grease films. Begin by wiping your target accent wall with a microfiber cloth dampened with an approximately 70% isopropyl alcohol and clean water solution, or warm water with a drop of neutral dish soap. This removes hand oils, cooking vapor deposits, and atmospheric dust without softening cured paint finishes.
Allow the wall to air dry completely for approximately 24 hours. Moisture trapped beneath non-porous vinyl wallpaper can foster mildew or degrade the pressure-sensitive acrylic adhesive matrix, leading to premature panel detachment.
Step 2: Drawing the True Vertical Plumb Line
Apartment walls and doorframes are rarely perfectly square. If you align your first wallpaper strip against a room corner, the panel will likely tilt, causing consecutive panels to slant progressively across the room.
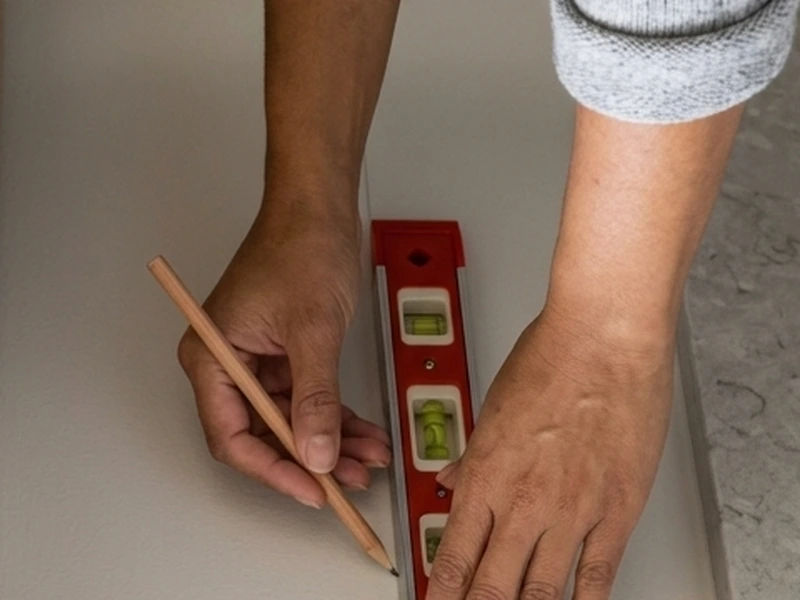
Measure out the roll width minus around 1 inch (such as approximately 19.5 inches for a standard 20.5-inch roll) from the room corner and draw a vertical plumb line using a 24-inch carpenter level. This pencil line serves as your orthogonal reference coordinate. The extra roughly 1 inch of width will wrap into the corner, accommodating wall irregularities to be trimmed later.
Step 3: Peeling and Positioning Panel One
Measure the height of your wall from ceiling line to baseboard top. Cut your panel length with an extra 2 inches of trimming margin, allowing approximately 1 inch at the ceiling and 1 inch at the baseboard for trimming.
Working at the top of your plumb line, peel down approximately 12 inches of backing paper from the top edge and smooth downward and outward at a 45-degree angle using a felt-edge squeegee. Align the long outer edge of the wallpaper precisely against your pencil plumb line, allowing approximately 1 inch of overhang above the ceiling molding. Lightly tack the adhesive face to the wall. Using your felt-edge squeegee, smooth from the vertical center outward toward the edges at a 45-degree angle, forcing air out toward the perimeter.
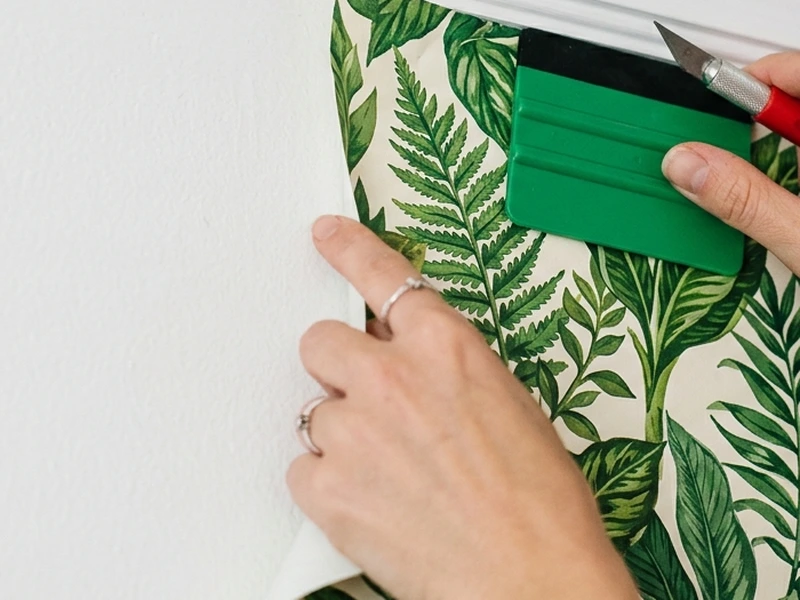
Continue working down the wall in steady increments. Reach behind the panel and peel down another roughly 12 inches of backing paper. Smooth the panel downward and outward with overlapping squeegee strokes. If you notice a wrinkle or trapped air pocket, do not force it down with extreme squeegee pressure, which can stretch flexible vinyl out of shape. Instead, gently lift the panel away from the wall to release tension, let it fall naturally back into alignment, and smooth it back down firmly.
Step 4: Eye-Level Pattern Matching on Subsequent Panels
When preparing panel number two, unroll your wallpaper next to the hung panel to locate the exact visual pattern match. Pay attention to whether your roll features a straight match or a half-drop repeat.
Cut the second panel with the necessary vertical offset to align the design, plus your roughly 2-inch trimming margin. Align the pattern repeat at eye level; butt seams snugly with no gap, or maintain a subtle 1/16-inch to 1/8-inch overlap if specified by the manufacturer to guard against seasonal panel shrinkage. Smooth firmly along the seam line with your felt squeegee.
Step 5: Precision Trimming and Electrical Outlet Integration
Clean ceiling and baseboard transitions require razor-sharp cutting tools. Pushing dull blades through vinyl causes tearing, jagged edges, and drywall paper snagging.
Press a rigid steel ruler or broad taping knife firmly into the joint where the wall meets the ceiling or baseboard molding. Hold your utility knife at a low 30-degree angle against a metal straightedge, replacing snap-off blades roughly every 2 to 3 panels to prevent dragging on flexible wallcovering substrates.
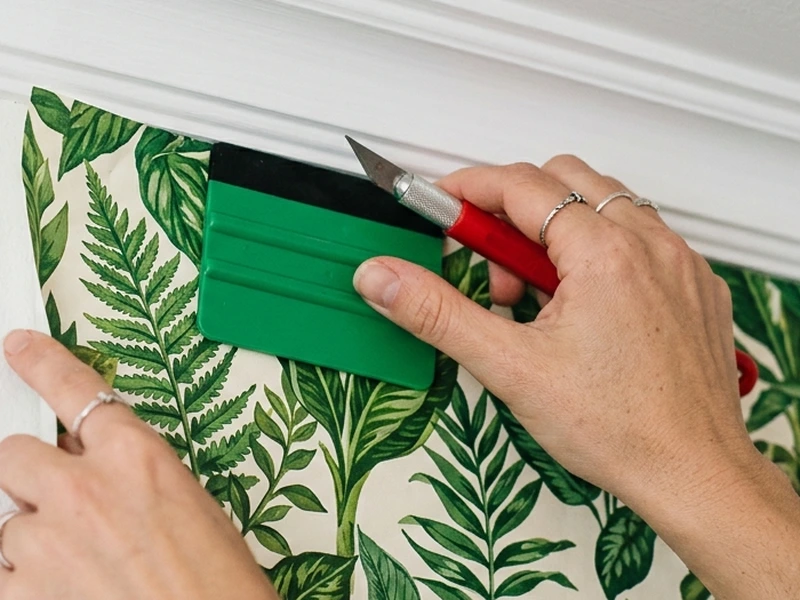
When working around electrical outlets and switch plates, always follow strict electrical safety rules:
- Turn off room circuit power at the main breaker, verify with a voltage tester, and unscrew decorative faceplates.
- Smooth the wallpaper panel directly over the open electrical box opening as if it were a flat wall.
- Use your utility knife to cut a shallow X across the center of the electrical box opening.
- Fold flaps inward and trim excess paper, maintaining an intentional 1/4-inch inset border inside the box perimeter so no wallpaper enters electrical terminal zones.
- Reinstall the faceplate, which neatly conceals cut edges, and restore circuit breaker power.
Move-Out Removal: 180-Degree Extraction Protocol
When moving day arrives, taking down peel-and-stick wallpaper without damaging the landlord paint requires deliberate mechanics rather than rapid tearing:
- Top Corner Initiation: Start at the top corner of a panel near the ceiling molding. Gently lift the edge with your fingernail or the flat edge of a plastic putty scraper to create a starting tab.
- The 180-Degree Parallel Pull: Never pull wallpaper outward toward yourself at a 90-degree angle. Pulling perpendicular exerts high tensile stress on drywall paper, which can delaminate the topcoat from the gypsum core. Pull the panel slowly straight downward parallel to the wall at a 180-degree angle.
- Thermal Softening for Stubborn Sections: If you encounter resistance, direct gentle warmth from a hair dryer toward the separation seam for approximately 5 to 10 seconds. Gentle warmth softens the acrylic adhesive bond, allowing the panel to slide away cleanly.
- Residue Cleaning: While quality removable wallpaper releases with minimal adhesive transfer, minor tackiness or dust lines can linger along seams. Clean these areas with a microfiber cloth dampened with warm water and mild soap, or wipe with approximately 70% isopropyl alcohol. Allow the wall to dry thoroughly before final move-out inspection.
Related Renter-Friendly Wall Makeover Guides
Explore our companion apartment improvement tutorials to transform your rental living space without risking deposit disputes:
- The Ultimate No-Drill Gallery Wall Guide: Hang picture frames and art using removable adhesive hanging strips.
- Peel-and-Stick Backsplash Guide for Rental Kitchens: Transform kitchen tile backsplashes with removable subway and composite tiles.
- How to Hang Curtains Without Drilling: Install blackout curtains using tension rods and no-drill window brackets.
- Rental Countertop Makeover Guide: Upgrade dated laminate countertops with waterproof architectural film.
- Peel-and-Stick Floor Tiles Over Linoleum: Transform rental bathroom and kitchen floors using a painter tape underlayment barrier.
Frequently Asked Questions About Removable Wallpaper
Will removable wallpaper peel paint off rental walls?
Removable wallpaper releases cleanly when applied over properly primed drywall finished with cured satin, eggshell, or semi-gloss paint. However, if installed over uncured paint (less than 14 to 28 days old) or chalky, flat builder-grade contractor paint, the adhesive can bond aggressively and lift paint during removal. Conducting an adhesion patch test and pulling panels downward at a 180-degree angle during move-out minimizes the risk of paint damage.
Can you install peel-and-stick wallpaper on textured walls?
Standard peel-and-stick vinyl wallpaper is not recommended for heavily textured surfaces such as orange-peel, knockdown, or popcorn finishes. The texture creates uneven air pockets that reduce adhesive contact area, causing panels to bubble, crease, or peel away over time. For lightly textured drywall, woven polyester fabric wallpapers provide higher conformability, though spot-testing remains essential.
Can peel-and-stick wallpaper be used in rental bathrooms?
Yes, self-adhesive vinyl wallpaper can be installed in rental bathrooms provided the room has functional ventilation, such as an operable window or an exhaust fan that clears humidity quickly. However, wallpaper should never be installed in direct contact with running water, such as inside shower stalls or directly above bathtub surrounds, as persistent moisture can seep beneath seams and compromise adhesive tack.
How do you clean residual adhesive left on the wall after removal?
Any isolated adhesive residue remnants can be removed by dampening a microfiber cloth with warm water and a small drop of mild dish soap, or using 70% isopropyl alcohol. Gently rub the tacky spot in circular motions to lift the residue without scrubbing through the landlord underlying paint finish, then dry the surface with a clean towel.
