
Quick Assessment: Over-the-Door Storage in Rental Apartments
Can over-the-door organizers be used in rental apartments without damaging doors or hardware? Safe performance depends on top door header clearance, door core construction, and bracket cushioning. Following our over-the-door organizing hacks rental strategy, standard interior doors require at least 1/8 inch of operating clearance above the door rail to prevent bracket binding against the jamb. Hollow-core doors support a safe distributed load between 30 pounds and 40 pounds, whereas solid-core doors accommodate between 60 pounds and 75 pounds. Lining metal bracket hooks with approximately 1 mm thick dense felt tape and securing the lower spine with adhesive picture hanging strips prevents door scuffing, swinging, and latch interference.
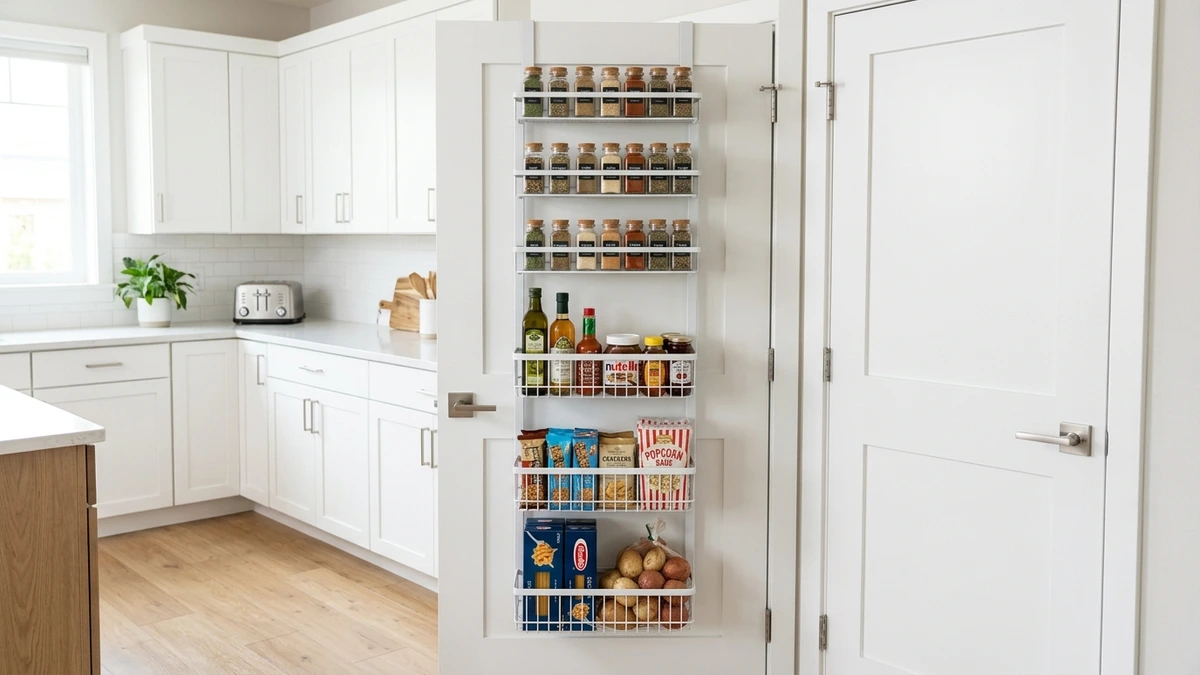
Rental apartments are infamous for narrow closets, cramped entryways, and minimal kitchen pantries. When square footage is at a premium, tenants cannot drill into drywall or mount heavy cabinetry without risking deposit deductions at move-out. However, the back of a standard 80-inch by 30-inch or 32-inch interior door offers approximately 18 to 21 square feet of usable vertical surface area that often sits completely unused.
Transforming this dead space into an organized pantry, cleaning station, or wardrobe valet requires careful engineering. Unpadded hanging organizers can scuff enamel paint, rattle loudly when opened, or place excessive torque on standard door hinges if overloaded. By understanding door mechanics, verifying header clearance, and applying protective barrier cushions, renters can dramatically expand apartment storage while keeping doors intact and operational.
Table of Contents
Door Feasibility and Pre-Installation Checks
Before purchasing or hanging an over-the-door storage system, evaluating your apartment door ensures the hardware will fit without binding against the jamb or straining the hinges:
- The Nickel Clearance Test: A standard US nickel has an official thickness of 1.95 mm. Place a nickel flat on top of the upper door rail and close the door completely. If the door closes smoothly without scraping the nickel against the upper jamb, you have the minimum 1/8 inch (approximately 3 mm) operating clearance required for over-door metal bracket hooks.
- Door Core Type Identification: Tap the center of the door panel. A hollow, resonant sound indicates a standard hollow-core interior door, which carries a safe distributed accessory load limit between 30 pounds and 40 pounds. A heavy, solid thud indicates a solid-core wood door, which can support between 60 pounds and 75 pounds across standard hinges.
- Door Thickness Measurement: Standard residential interior passage doors measure 1-3/8 inches in thickness (35 mm), while heavy commercial or exterior doors measure 1-3/4 inches (44 mm). Confirm that your organizer bracket depth matches your specific door thickness to prevent loose play or tilting.
- Hinge Screw Tightness: Inspect the top hinge leaves on both the door edge and the wall frame. If the top hinge exhibits loose mounting screws, tighten them with a manual screwdriver before adding accessory weight.
- Prohibited Door Types: Never mount heavy storage racks on bi-fold closet doors, sliding pocket doors, lightweight louvered doors, or glass french doors. These assemblies lack the structural hinge capacity required to carry cantilevered weight.
Over-the-Door Storage System Comparison Matrix
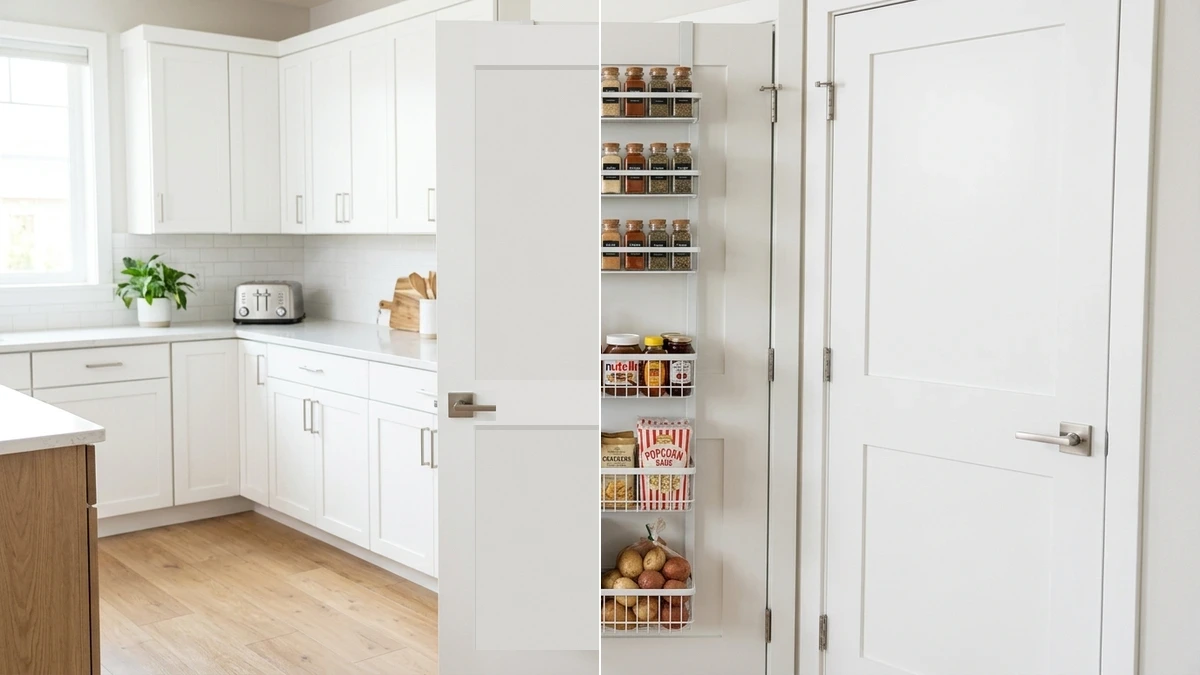
Different storage configurations offer varying weight capacities, mounting profiles, and compartment layouts. The comparison matrix below details the four primary over-the-door storage systems suitable for rental homes:
| Organizer System Type | Substrate & Weight Capacity | Mounting & Hardware Interface | Door Protection Protocol | Best Rental Application |
|---|---|---|---|---|
| Modular Steel Track Rack (e.g., Elfa Utility System) |
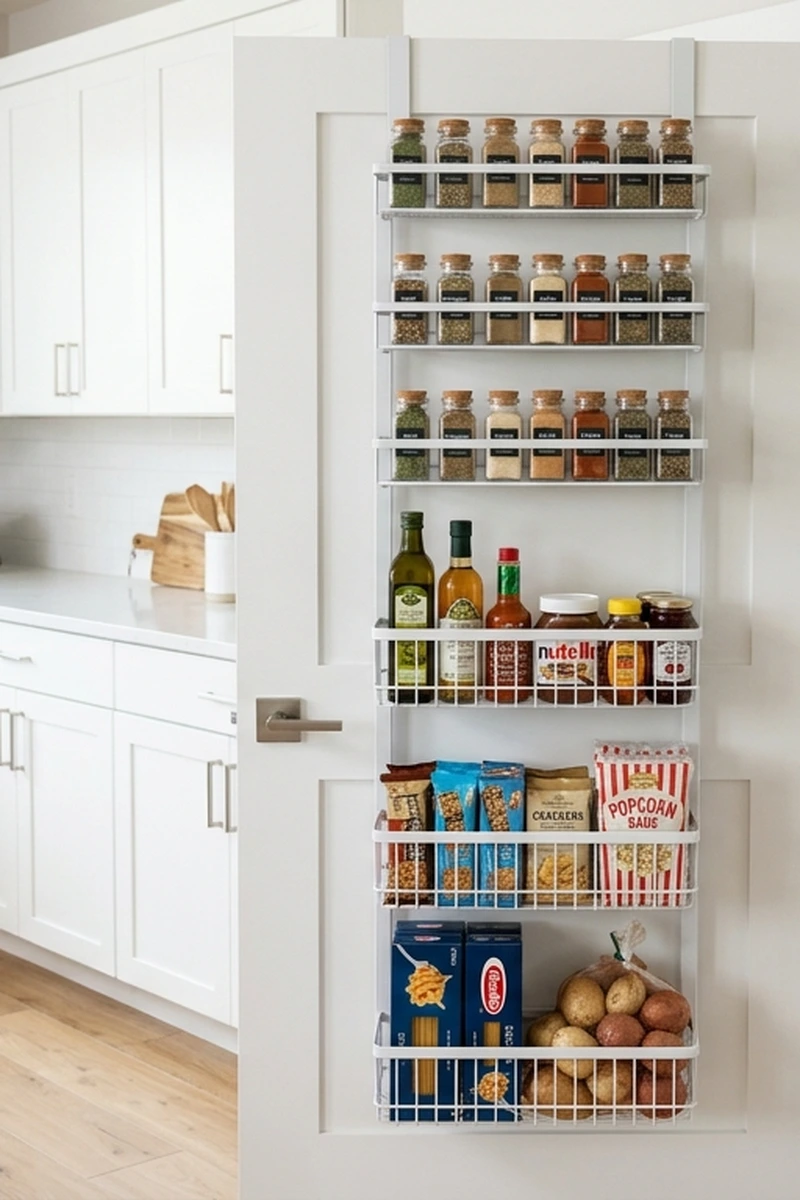
Hollow or solid doors; up to 50 pounds distributed load across multiple wire baskets | Vertical steel central spine with top clamp hooks and bottom tension brackets; screwless | Dense felt tape on top bracket; 2 pairs Command Large strips on bottom spine | Kitchen pantries, cleaning supply closets, and multi-tier bathroom utility storage |
| Clear Pocket Fabric Organizer (e.g., Heavy-Duty PVC / Polyester) |
Standard hollow-core doors; lightweight accessory storage | Stamped steel hanging hooks (0.05 inches to 0.06 inches thick); suspended fabric body | Felt dots on rear metal grommets to prevent door face abrasion | Shoes, bathroom toiletries, hair styling tools, and lightweight cleaning sprays |
| Over-the-Door Garment Valet (e.g., Tubular Steel Extendable Bar) |
Solid or reinforced hollow doors; up to 30 pounds load capacity | Twin over-door steel brackets; forward extension bar | Silicone bumper pads under top bracket hooks and frame resting tabs | Bedroom closet overflow, guest coat storage, and laundry room hanging stations |
| Tiered Multi-Hook Rail (e.g., Cast Metal 5 to 6 Hook Bar) |
Standard 1-3/8 inch interior doors; lightweight hanging items | Fixed-width stamped steel over-door brackets with horizontal rail | Adhesive felt padding along bracket underside to prevent door top wear | Entryway jackets, bathrobes, umbrellas, and everyday tote bags |
Essential Tools and Materials for Rental Mounting
Assembling a secure, silent over-the-door storage system requires a few specialized protective accessories:
- Over-the-Door Organizer: Quality steel track rack or heavy-duty pocket organizer fitted with flat stamped hooks.
- Adhesive Felt Tape: Approximately 1 mm thick dense felt tape or peel-and-stick furniture felt strips to cushion bracket contact surfaces.
- 3M Command Large Picture Hanging Strips: Interlocking click-lock adhesive strips rated up to 16 pounds per 4 pairs to anchor the bottom frame.
- Isopropyl Alcohol: Rapid-drying approximately 70% isopropyl alcohol wash to clean the lower door surface before applying adhesive strips.
- Microfiber Cleaning Cloth: Lint-free cloth for wiping dust and oils from contact areas.
- US Five-Cent Nickel: Official 1.95 mm coin used to conduct the header clearance test.
- Manual Phillips Screwdriver: For tightening door hinge screws prior to hanging storage hardware.
- Steel Tape Measure: To verify door width, height, and centered bracket placement.
Over-the-Door Organizing Hacks Rental Guide: Step-by-Step Installation
Executing an over-the-door installation that operates quietly and protects landlord door paint involves five systematic stages.
Step 1: Test Door Clearance via the Nickel Test
Begin by verifying that your door frame possesses adequate operating clearance. Place a standard US nickel (1.95 mm thick) flat on top of the door rail near the latch side, then slowly close the door completely.
If the door latches freely without catching the coin against the upper door jamb, you have verified the required 1/8 inch (approximately 3 mm) of operating clearance. Repeat the test near the hinge side and in the center. If the nickel catches tightly, standard wire brackets will bind against the frame. In tight-clearance situations, select organizers fitted with ultra-thin stamped steel hooks measuring 0.05 inches to 0.06 inches (roughly 1.2 mm to 1.5 mm) in thickness.
Step 2: Inspect Hinges and Line Bracket Hooks
Adding 30 pounds to 50 pounds of accessory storage increases downward shear force on your door hinges. Open the door halfway and inspect the top hinge leaves. If the hinge plates exhibit any loose screws, tighten them firmly using a manual screwdriver.
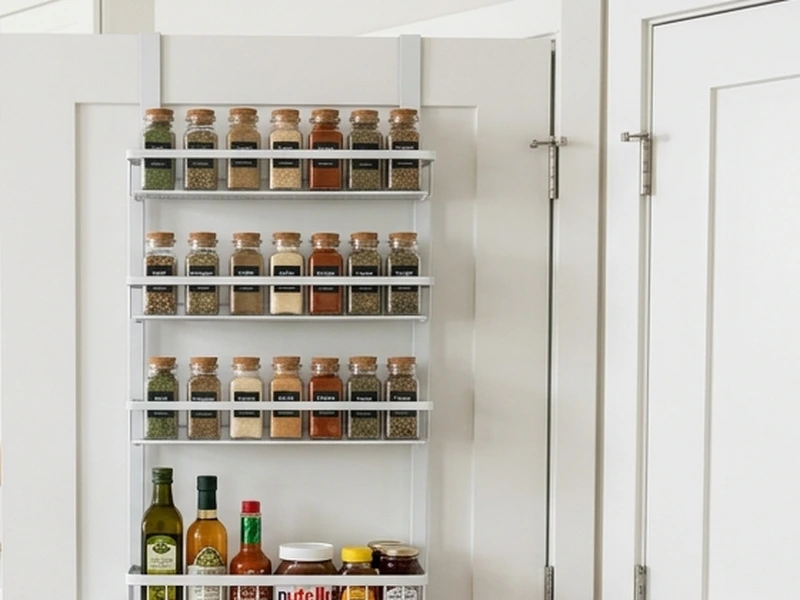
Direct metal-on-wood contact represents the primary cause of paint wear along the top of rental doors. As the door opens and closes, unpadded metal hooks vibrate and gradually wear away enamel paint. Cut strips of approximately 1 mm thick dense adhesive felt tape to match the bracket hooks. Press the felt firmly onto the underside where it rests on the top rail. This resilient barrier absorbs vibration and prevents friction marks.
Step 3: Seat and Center the Top Brackets
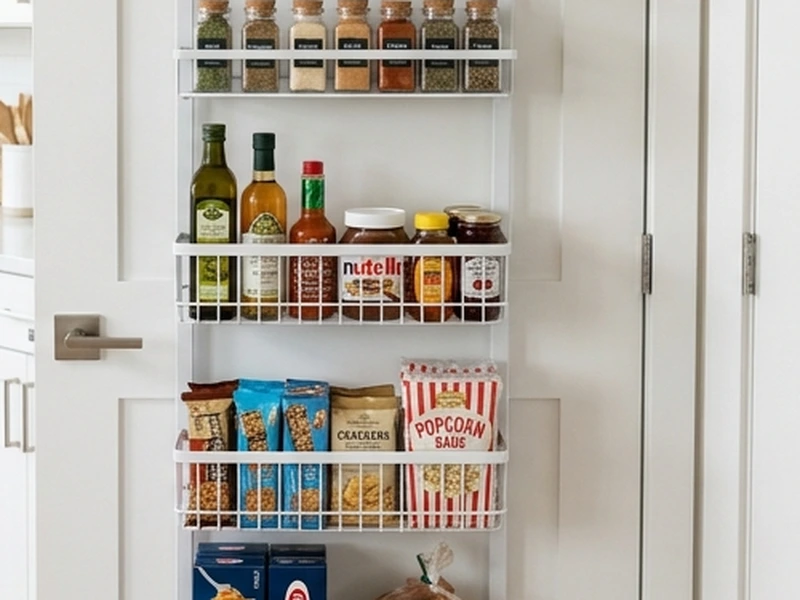
Hang the padded top brackets over the upper door rail. Measure the distance from the outer door edges to ensure the organizer is centered horizontally across the door width. Centering balances the physical load and prevents visual asymmetry.
Slowly swing the door closed to confirm that the padded brackets clear the head jamb smoothly and the door latch engages cleanly into the strike plate without resistance.
Step 4: Anchor the Lower Spine with 3M Command Strips
The most common annoyance with over-the-door racks is swinging and banging whenever the door opens quickly. Unanchored racks pull away from the door, striking the panel and chipping paint.
To stabilize the system, clean the lower contact zones on the door face with a microfiber cloth dampened with an approximately 70% isopropyl alcohol solution. Allow around 10 minutes of dry time for complete evaporation. Apply two pairs of 3M Command Large Picture Hanging Strips (rated up to 16 pounds per 4 pairs) to the lower spine or bottom basket frame of the rack. Press the organizer firmly against the door for approximately 30 seconds to engage the adhesive bond. The interlocking click-lock strips hold the rack firmly flush against the door during sudden movements.
Step 5: Distribute Weight with Lower Center of Gravity
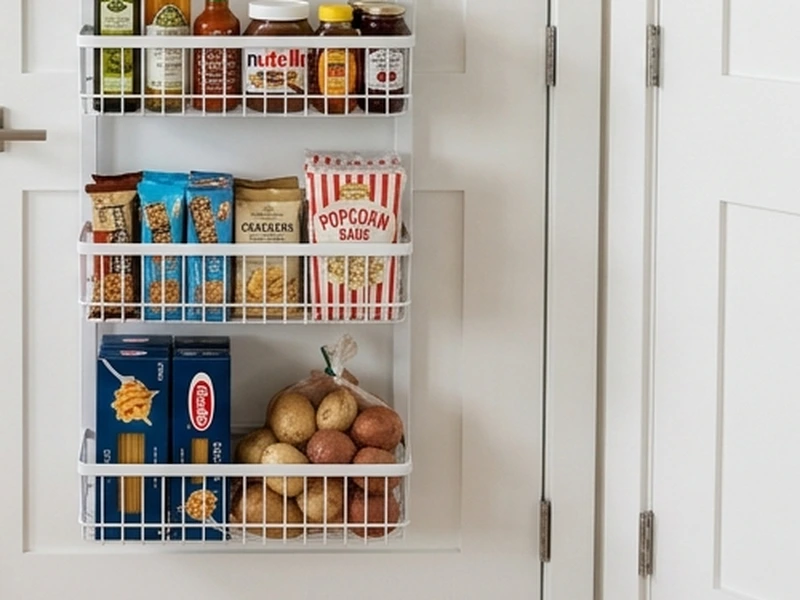
Proper weight distribution protects both the organizer and the door structure over long-term use. When stocking wire baskets or organizer pockets, always place your heaviest items—such as canned vegetables, full bottles of olive oil, vinegar, or large cleaning spray bottles—in the bottom two tiers.
Reserve the upper baskets for lightweight dry goods, spices, tea boxes, or paper goods. Keeping the center of gravity low minimizes leverage torque on the upper door hinges and prevents hollow-core doors from bowing outward over time.
Move-Out Removal: Safe Extraction Protocol
When your lease concludes, removing over-the-door organizing systems takes only a few minutes and leaves the door in its original move-in condition:
- Unload All Storage Tiers: Completely empty all baskets, shelves, or pockets from top to bottom before attempting to manipulate the rack hardware.
- Separate Lower Interlocking Strips: Gently pull the bottom frame of the organizer outward toward you to disengage the interlocking click-lock teeth of the Command Picture Hanging Strips.
- Remove Top Brackets: Lift the organizer vertically upward and unhook the padded brackets from the top door rail. Place the hardware aside.
- Stretch-Release Command Adhesive: To remove the Command strips remaining on the door face, never pull outward at a 90-degree angle. Grasp the exposed release tab and slowly pull straight downward parallel to the door face for roughly 12 to 15 inches. The specialized elastomeric foam will stretch and release cleanly without lifting door paint.
- Clean Residual Residue: If any isolated adhesive residue remains from bracket felt tape or stabilizing strips, dampen a microfiber cloth with an approximately 70% isopropyl alcohol solution or mild soap and gently wipe the spot clean.
Related Rental Organization Guides
Explore our companion storage tutorials to maximize vertical space across every room in your rental apartment:
- Tension Pole Shelving Guide: Floor-to-ceiling vertical shelving units that require zero wall anchors.
- Under-Sink Organization for Small Rental Bathrooms & Kitchens: Expand awkward cabinet storage around plumbing drain pipes.
- Heavy-Duty Rental Entryway Organizer: Freestanding coat and shoe storage systems for tight apartment foyers.
- Peel-and-Stick Backsplash Guide for Rental Kitchens: Transform kitchen tile backsplashes with removable subway and composite tiles.
- How to Hang Curtains Without Drilling: Install blackout curtains using tension rods and no-drill window brackets.
Frequently Asked Questions About Over-the-Door Racks
Will an over-the-door organizer damage rental door paint?
Direct unpadded metal brackets can rub against door enamel and create friction wear marks over time. However, lining the underside of the bracket hooks with dense felt tape cushions contact points and prevents metal-to-paint contact. Additionally, anchoring the lower frame with adhesive picture hanging strips prevents the organizer from swinging and chipping door paint when the door is opened.
How much weight can a hollow-core rental door hold?
Standard hollow-core interior doors are rated for a safe distributed accessory load between 30 pounds and 40 pounds. Exceeding this limit can place excessive strain on hinge screws and cause door sag. For heavier loads up to 50 pounds, choose modular steel track systems that distribute weight vertically across the entire door height, and place heavier items in the bottom baskets.
What should you do if the door won’t close with the rack installed?
If your door binds against the upper jamb after hanging an organizer, your door has tight operating clearance less than 1/8 inch. In this scenario, avoid standard thick wire hooks and replace them with ultra-thin stamped steel flat hooks measuring 0.05 inches to 0.06 inches (roughly 1.2 mm to 1.5 mm). Always conduct the nickel clearance test before purchasing hardware to verify compatibility.
How do you prevent over-the-door racks from banging when the door opens?
Over-the-door racks rattle and bang because the lower section hangs loosely against the door face. To stabilize the frame, wipe the lower door contact zones with an approximately 70% isopropyl alcohol solution and apply two pairs of 3M Command Large Picture Hanging Strips between the rack spine and the door. The interlocking click-lock design holds the rack firmly flush against the door while releasing cleanly at move-out.
